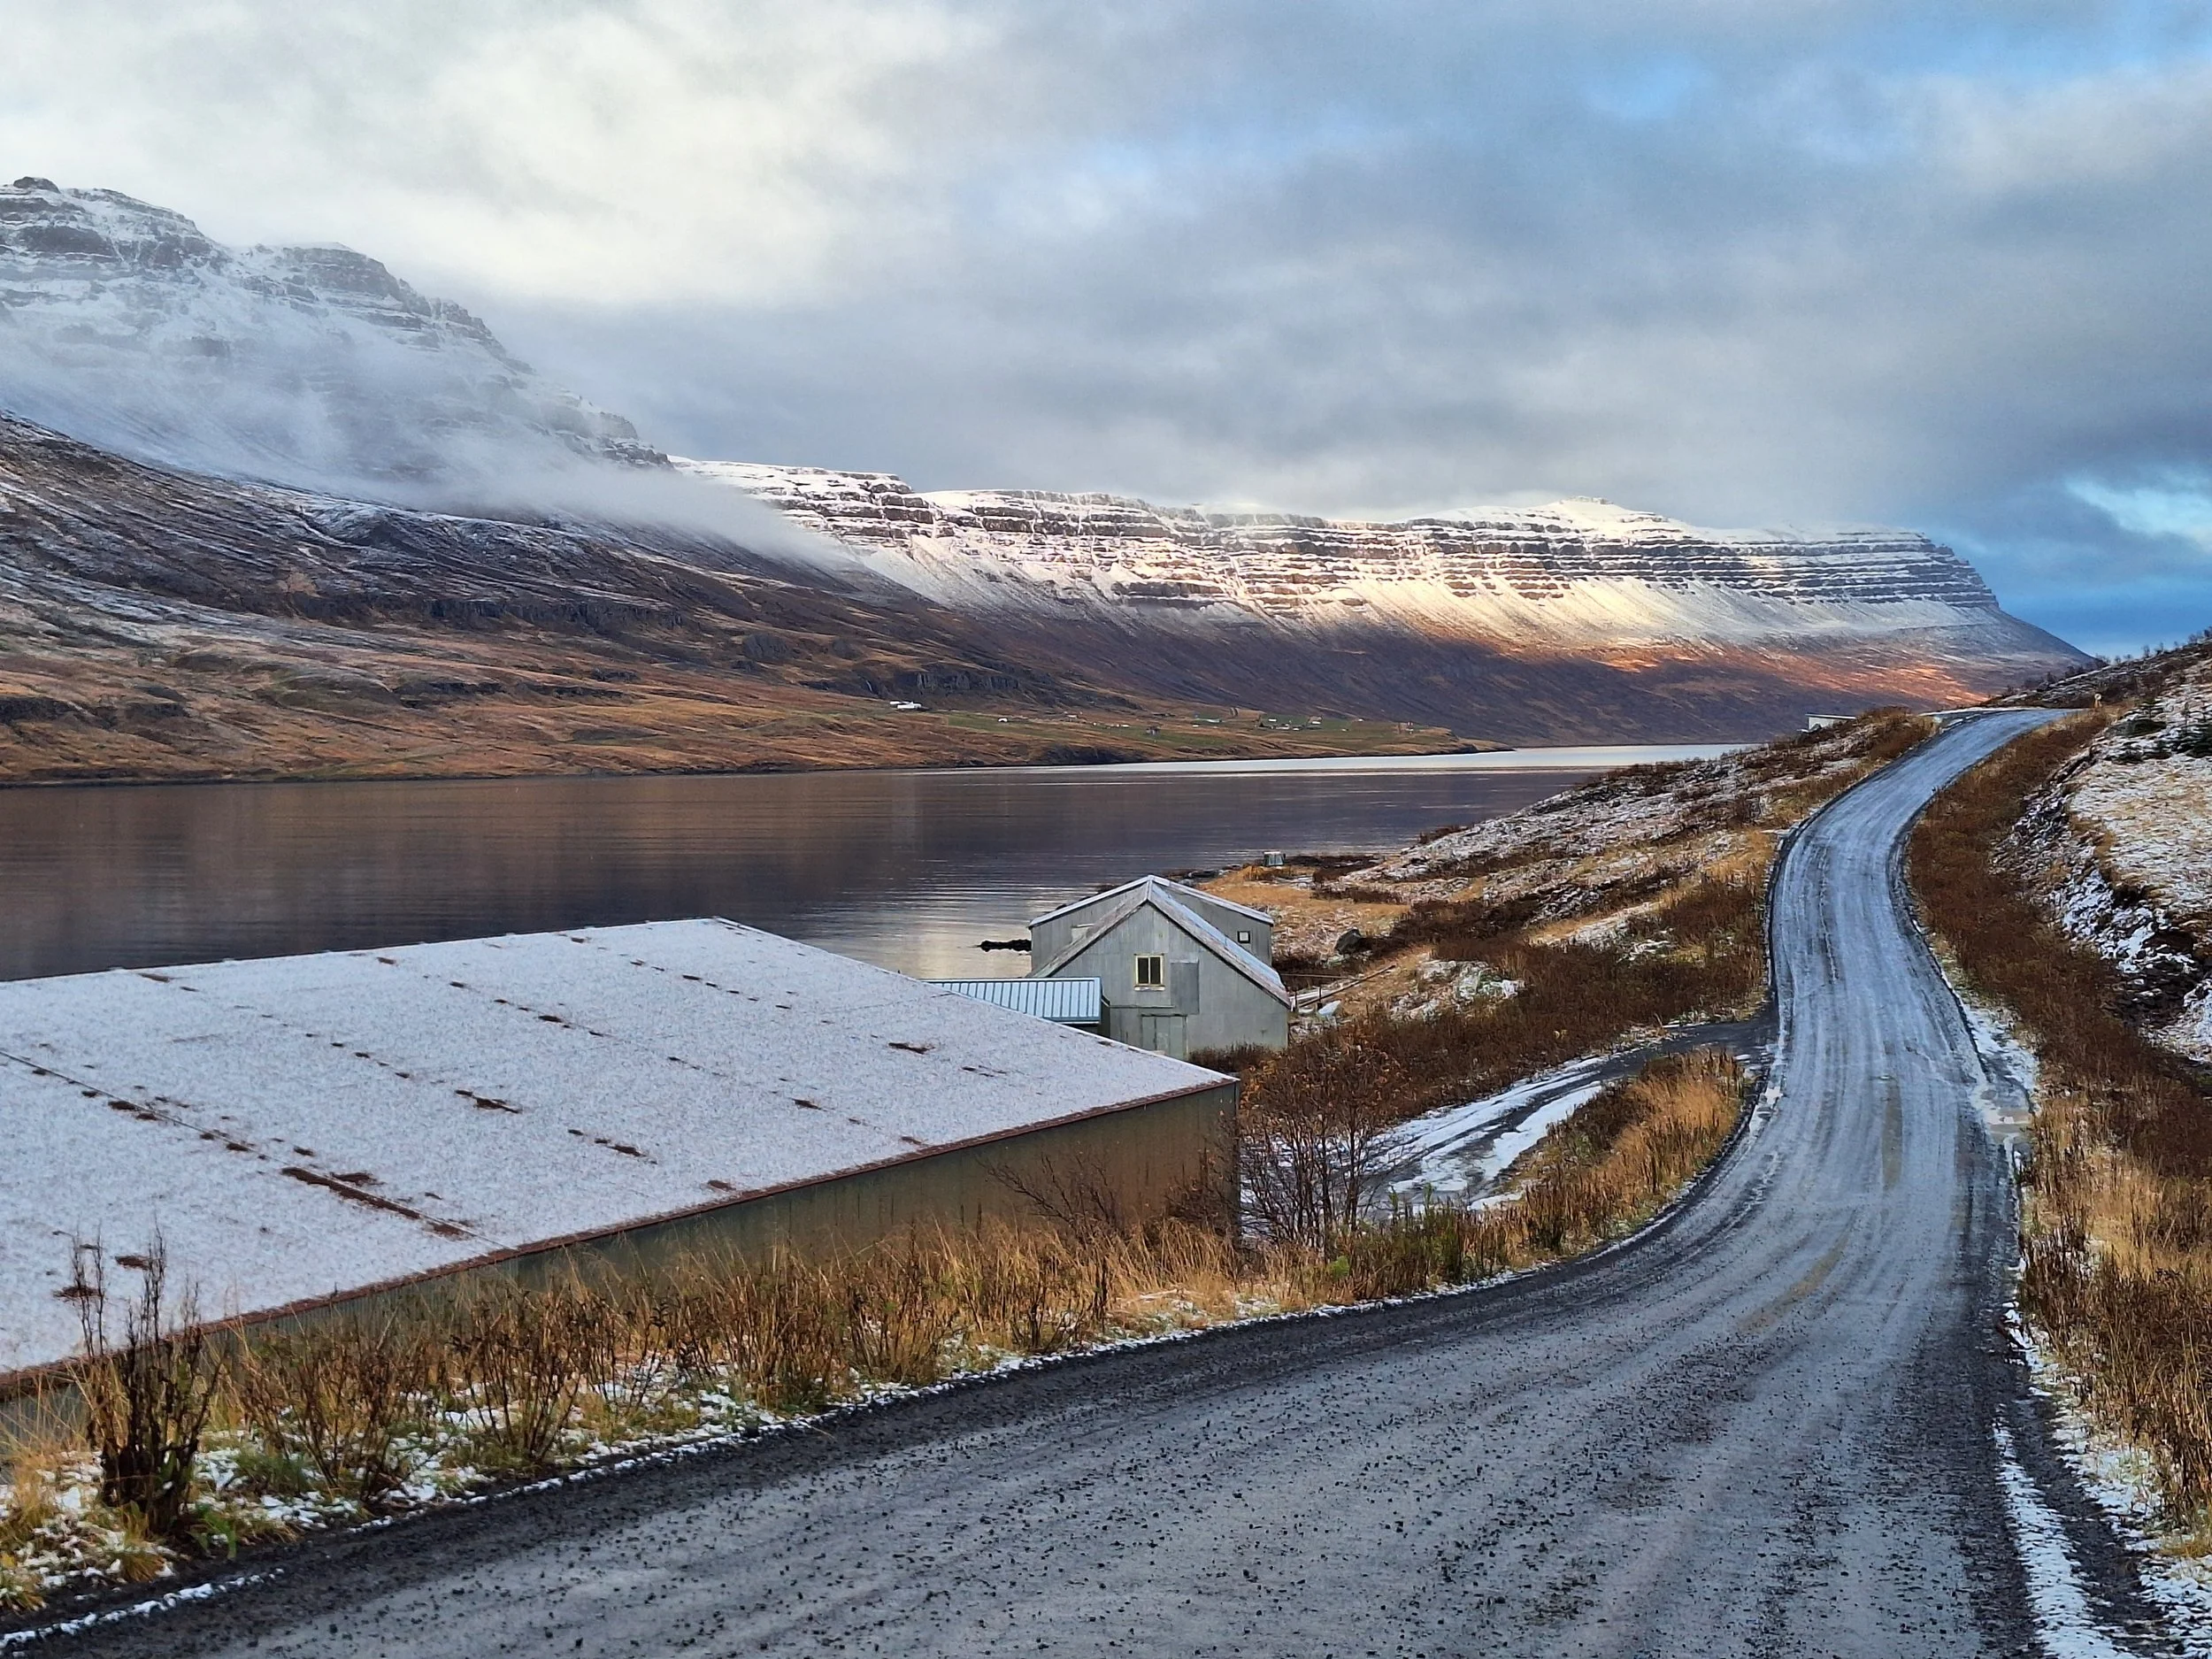
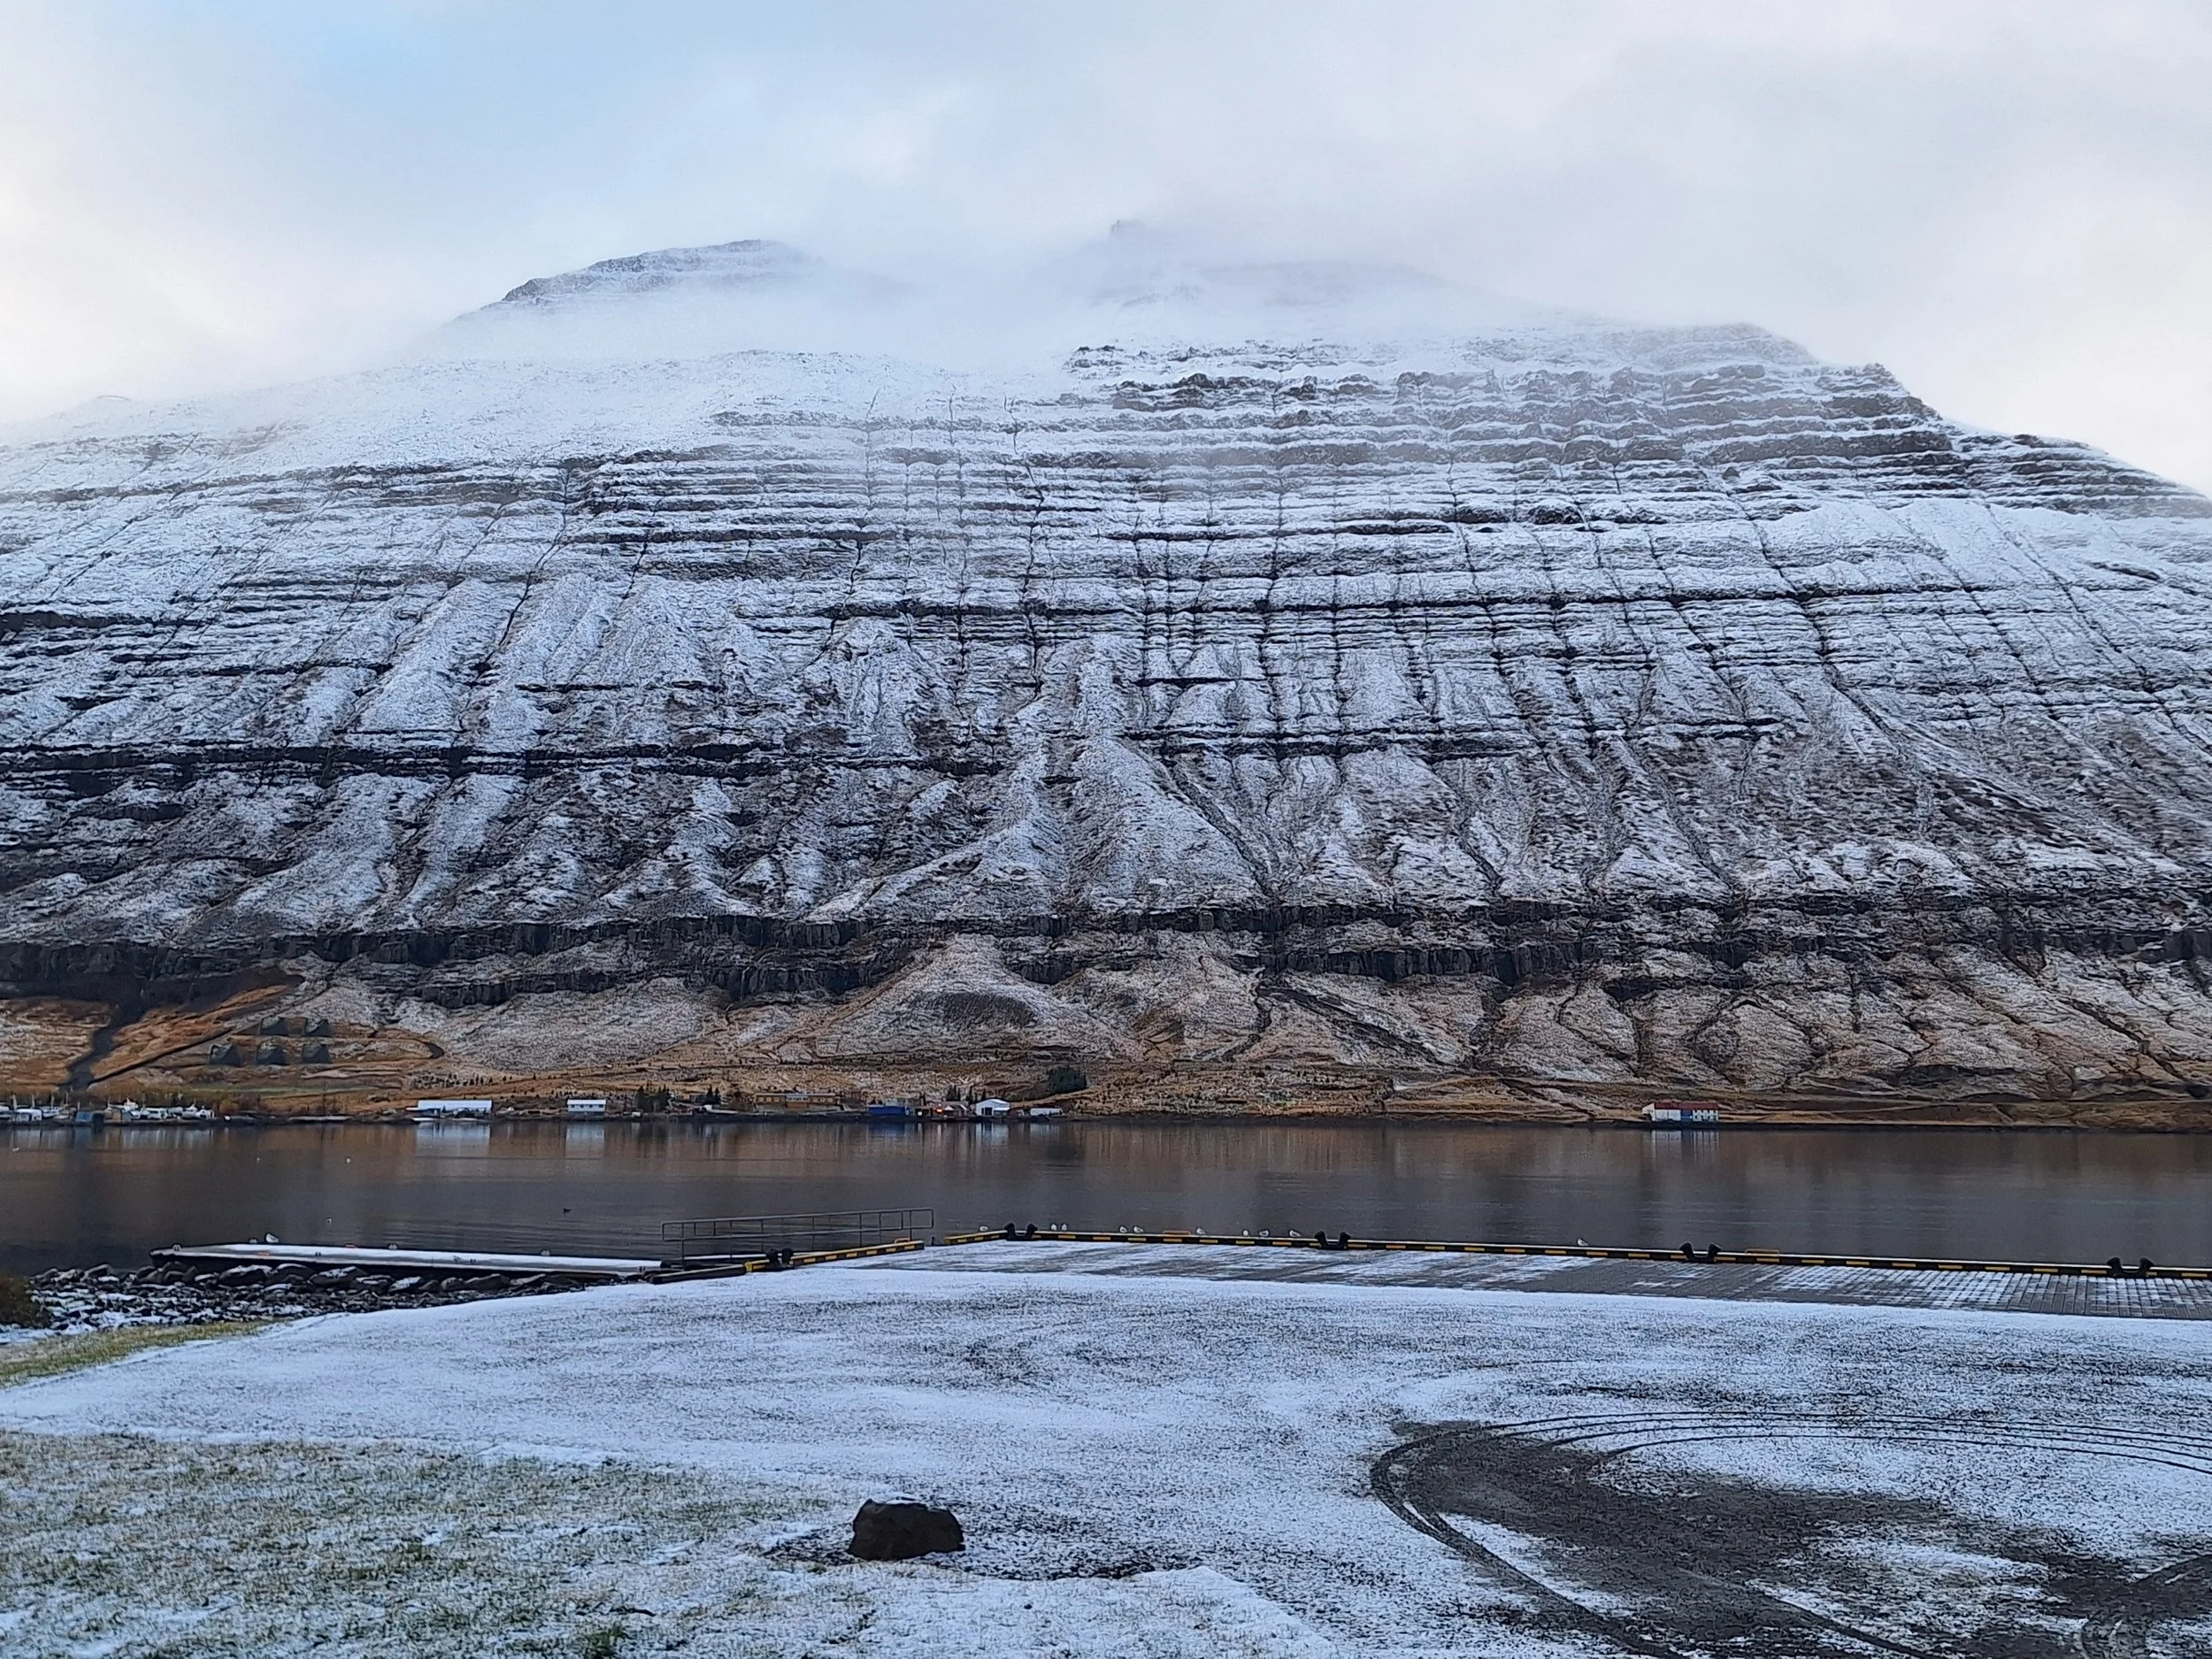
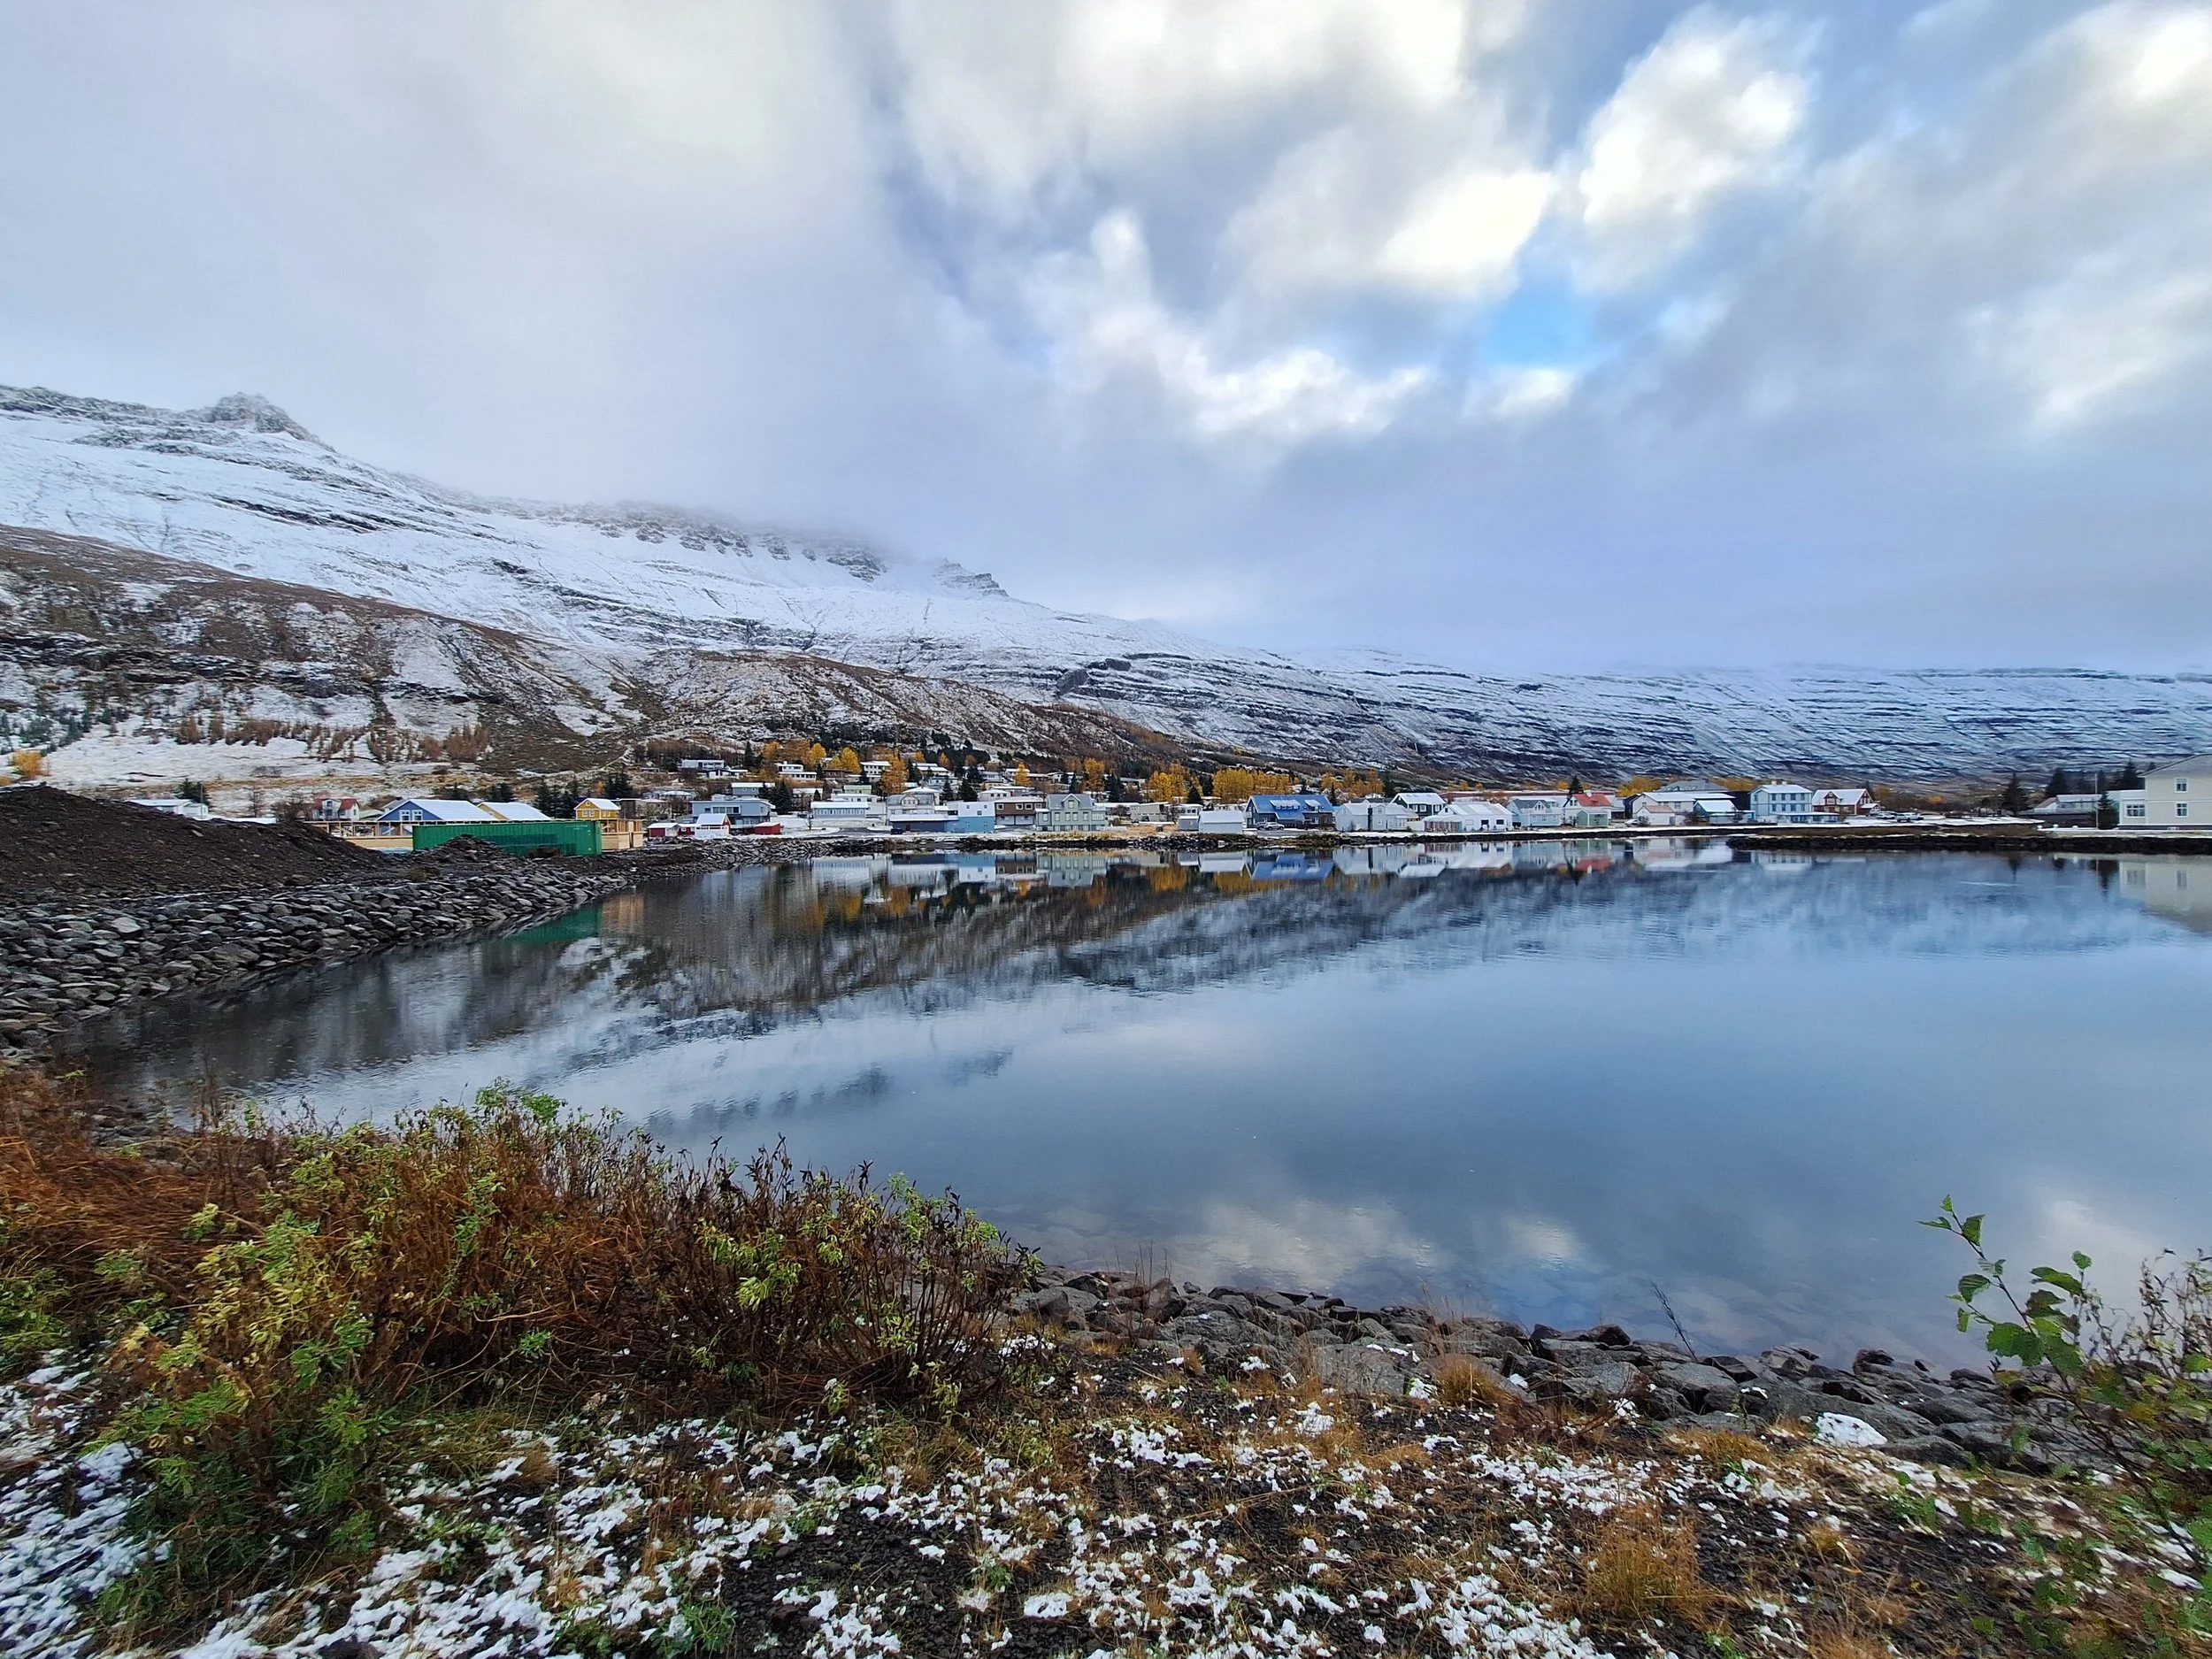
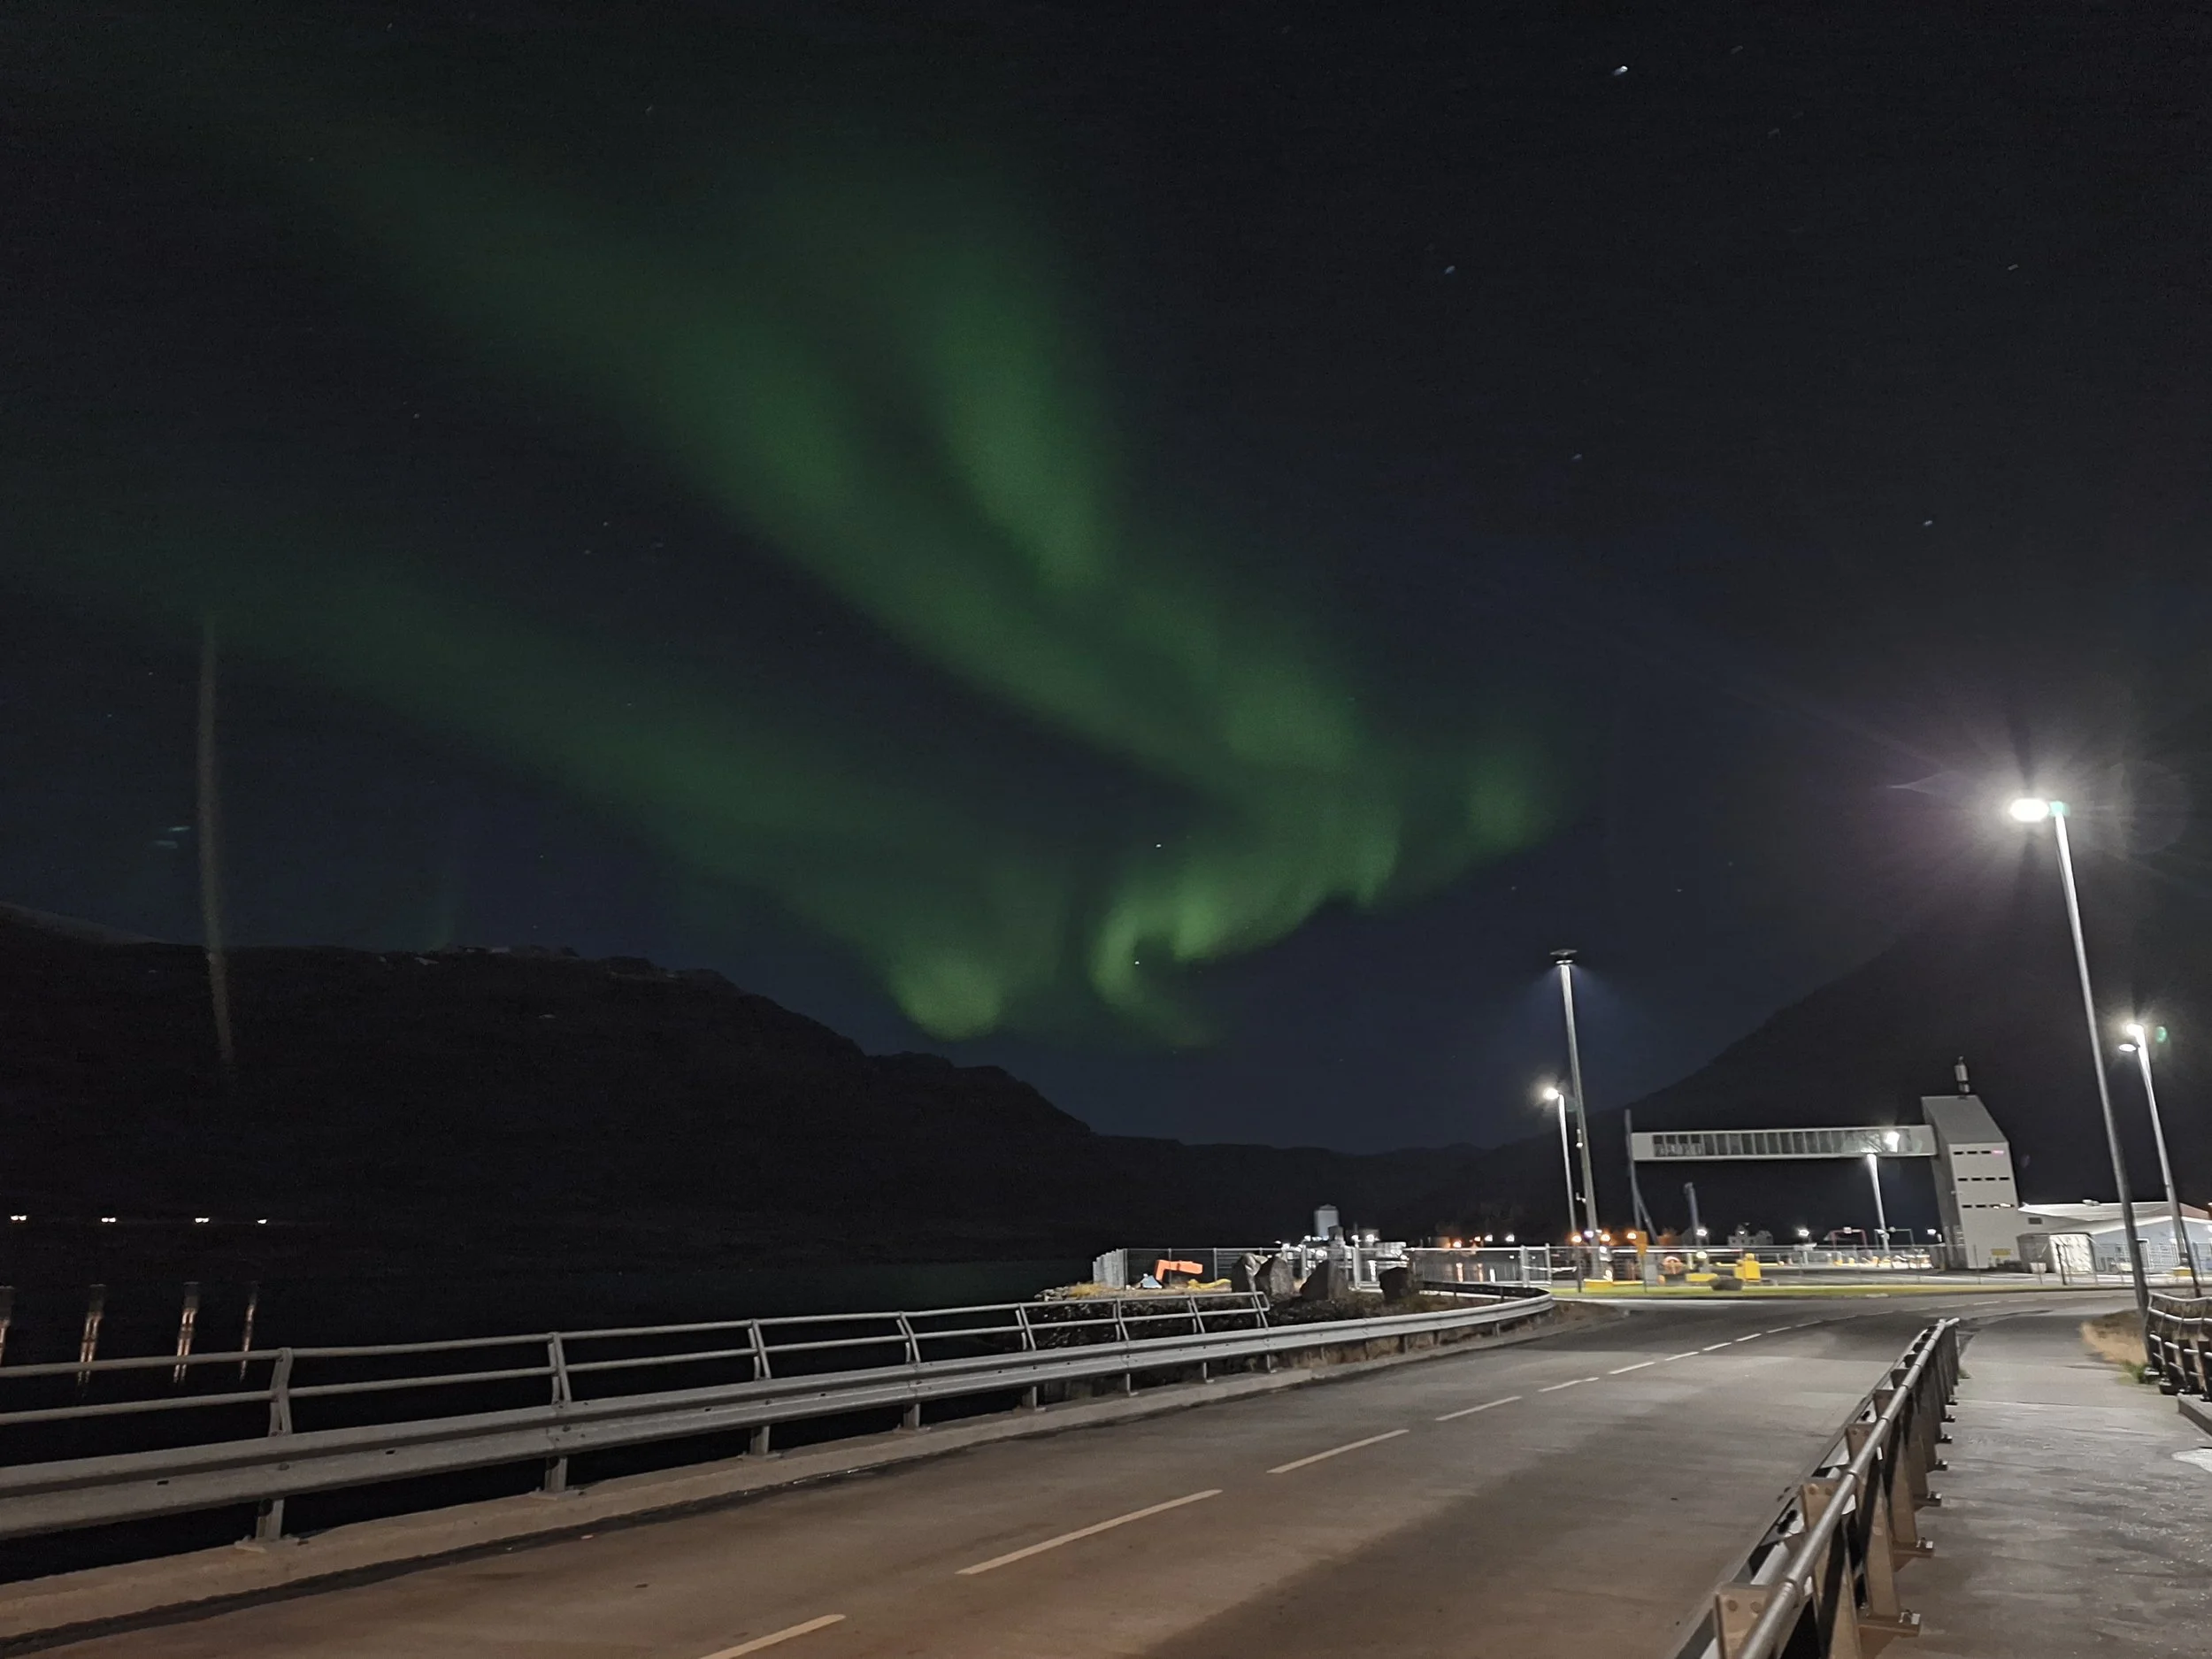
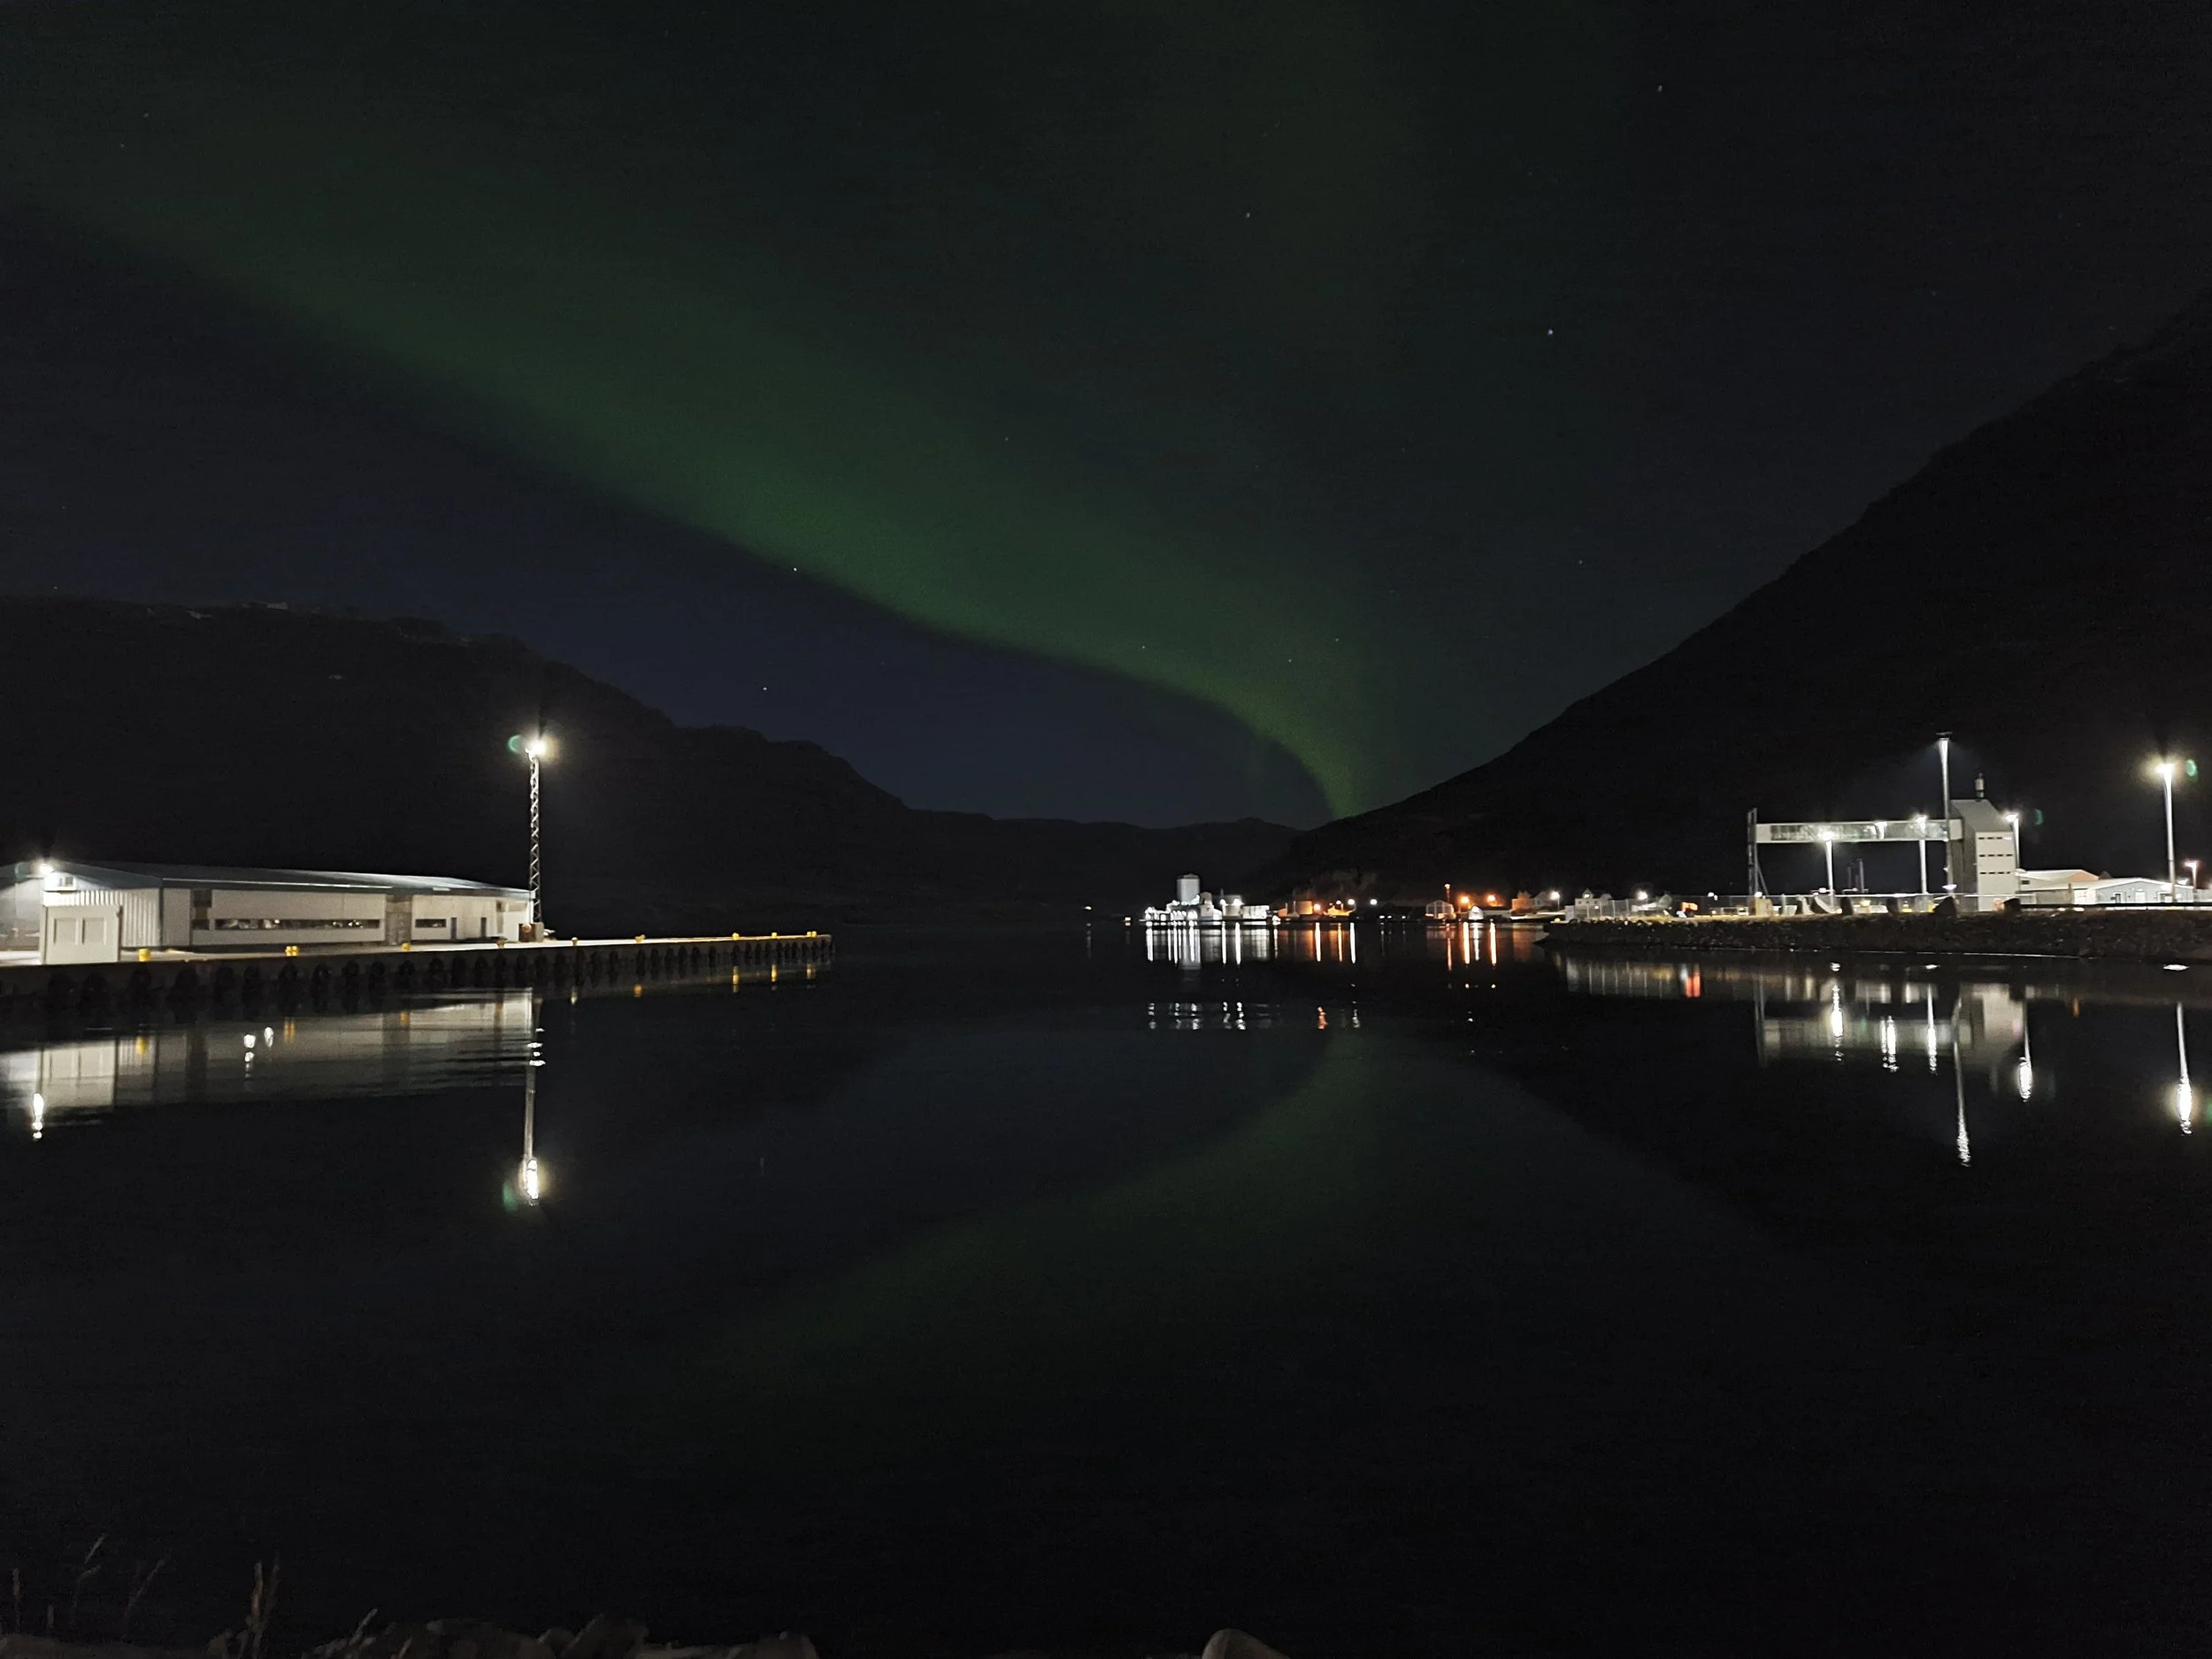
This week offered up an absolute treat! On the final clear night for the foreseeable future, we finally got to see the northern lights! For me it was a first time experience, so it was very special. Turns out that the aurora are a lot brighter in photos than what you see with the naked eye, so I tried to turn down the saturation in these images a notch. Still, they were magical in real life, and yes - they actually do dance!
Alejandra and I have been spending many afternoons and evenings in the print studio this week, experimenting with non-toxic printmaking and taking plenty of notes. Alejandra has been making monotypes and reduction linocuts with different brands of safe-wash and water-based inks, and I have been trying out the Lascaux Acrylic Resist Etching (ARE) system, which was developed as an alternative to the old traditional grounds for metal plate etching such as bitumen, asphaltum and rosin. Many workshops seek to introduce these newer solutions, as they do not require the same amount of health and safety precautions as the traditional methods. Being a traditionalist, I will admit it has been a very challenging process so far, as I am struggling to get good, pristine results with the Lascaux-system. (Let’s face it, I am a very meticulous kind of printmaker - not fast and furious). I find that the hard resist gets too brittle when dry, cracking every time I try to make fine lines. It also has a tendency to dissolve during the plate etching process - and that kind of defeats its purpose.
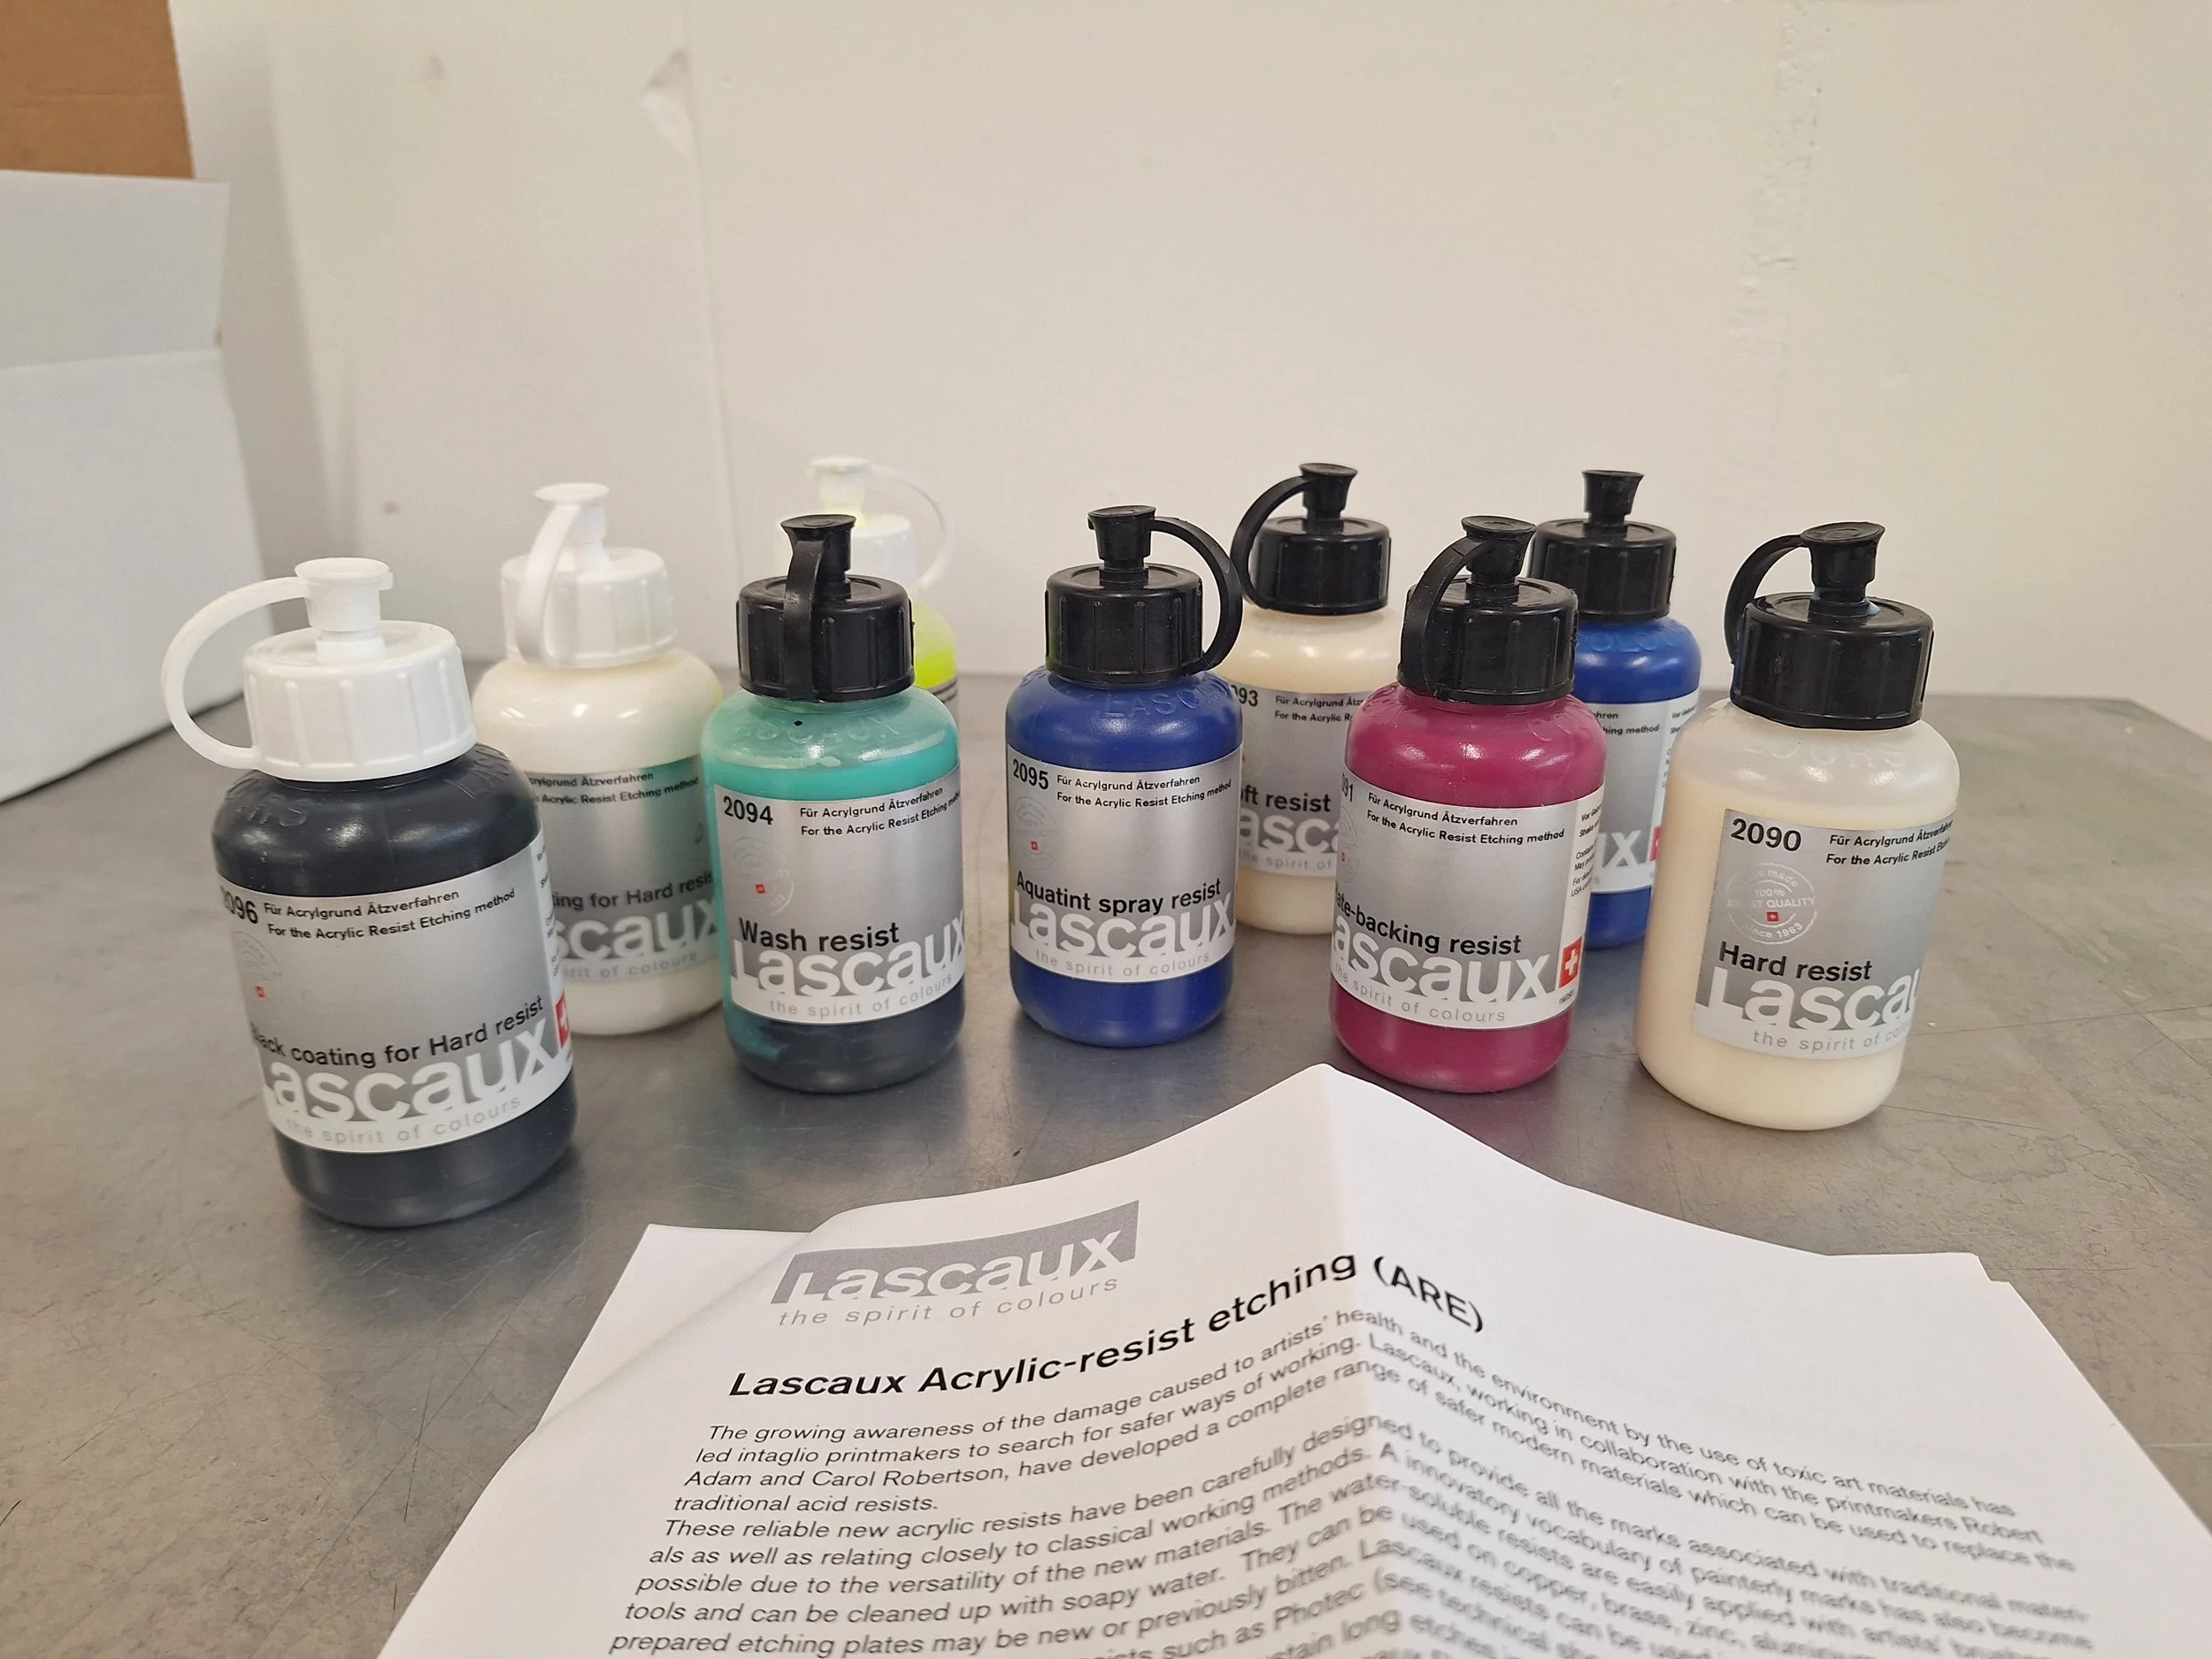
Trying to understand what bottle to use for what purpose!
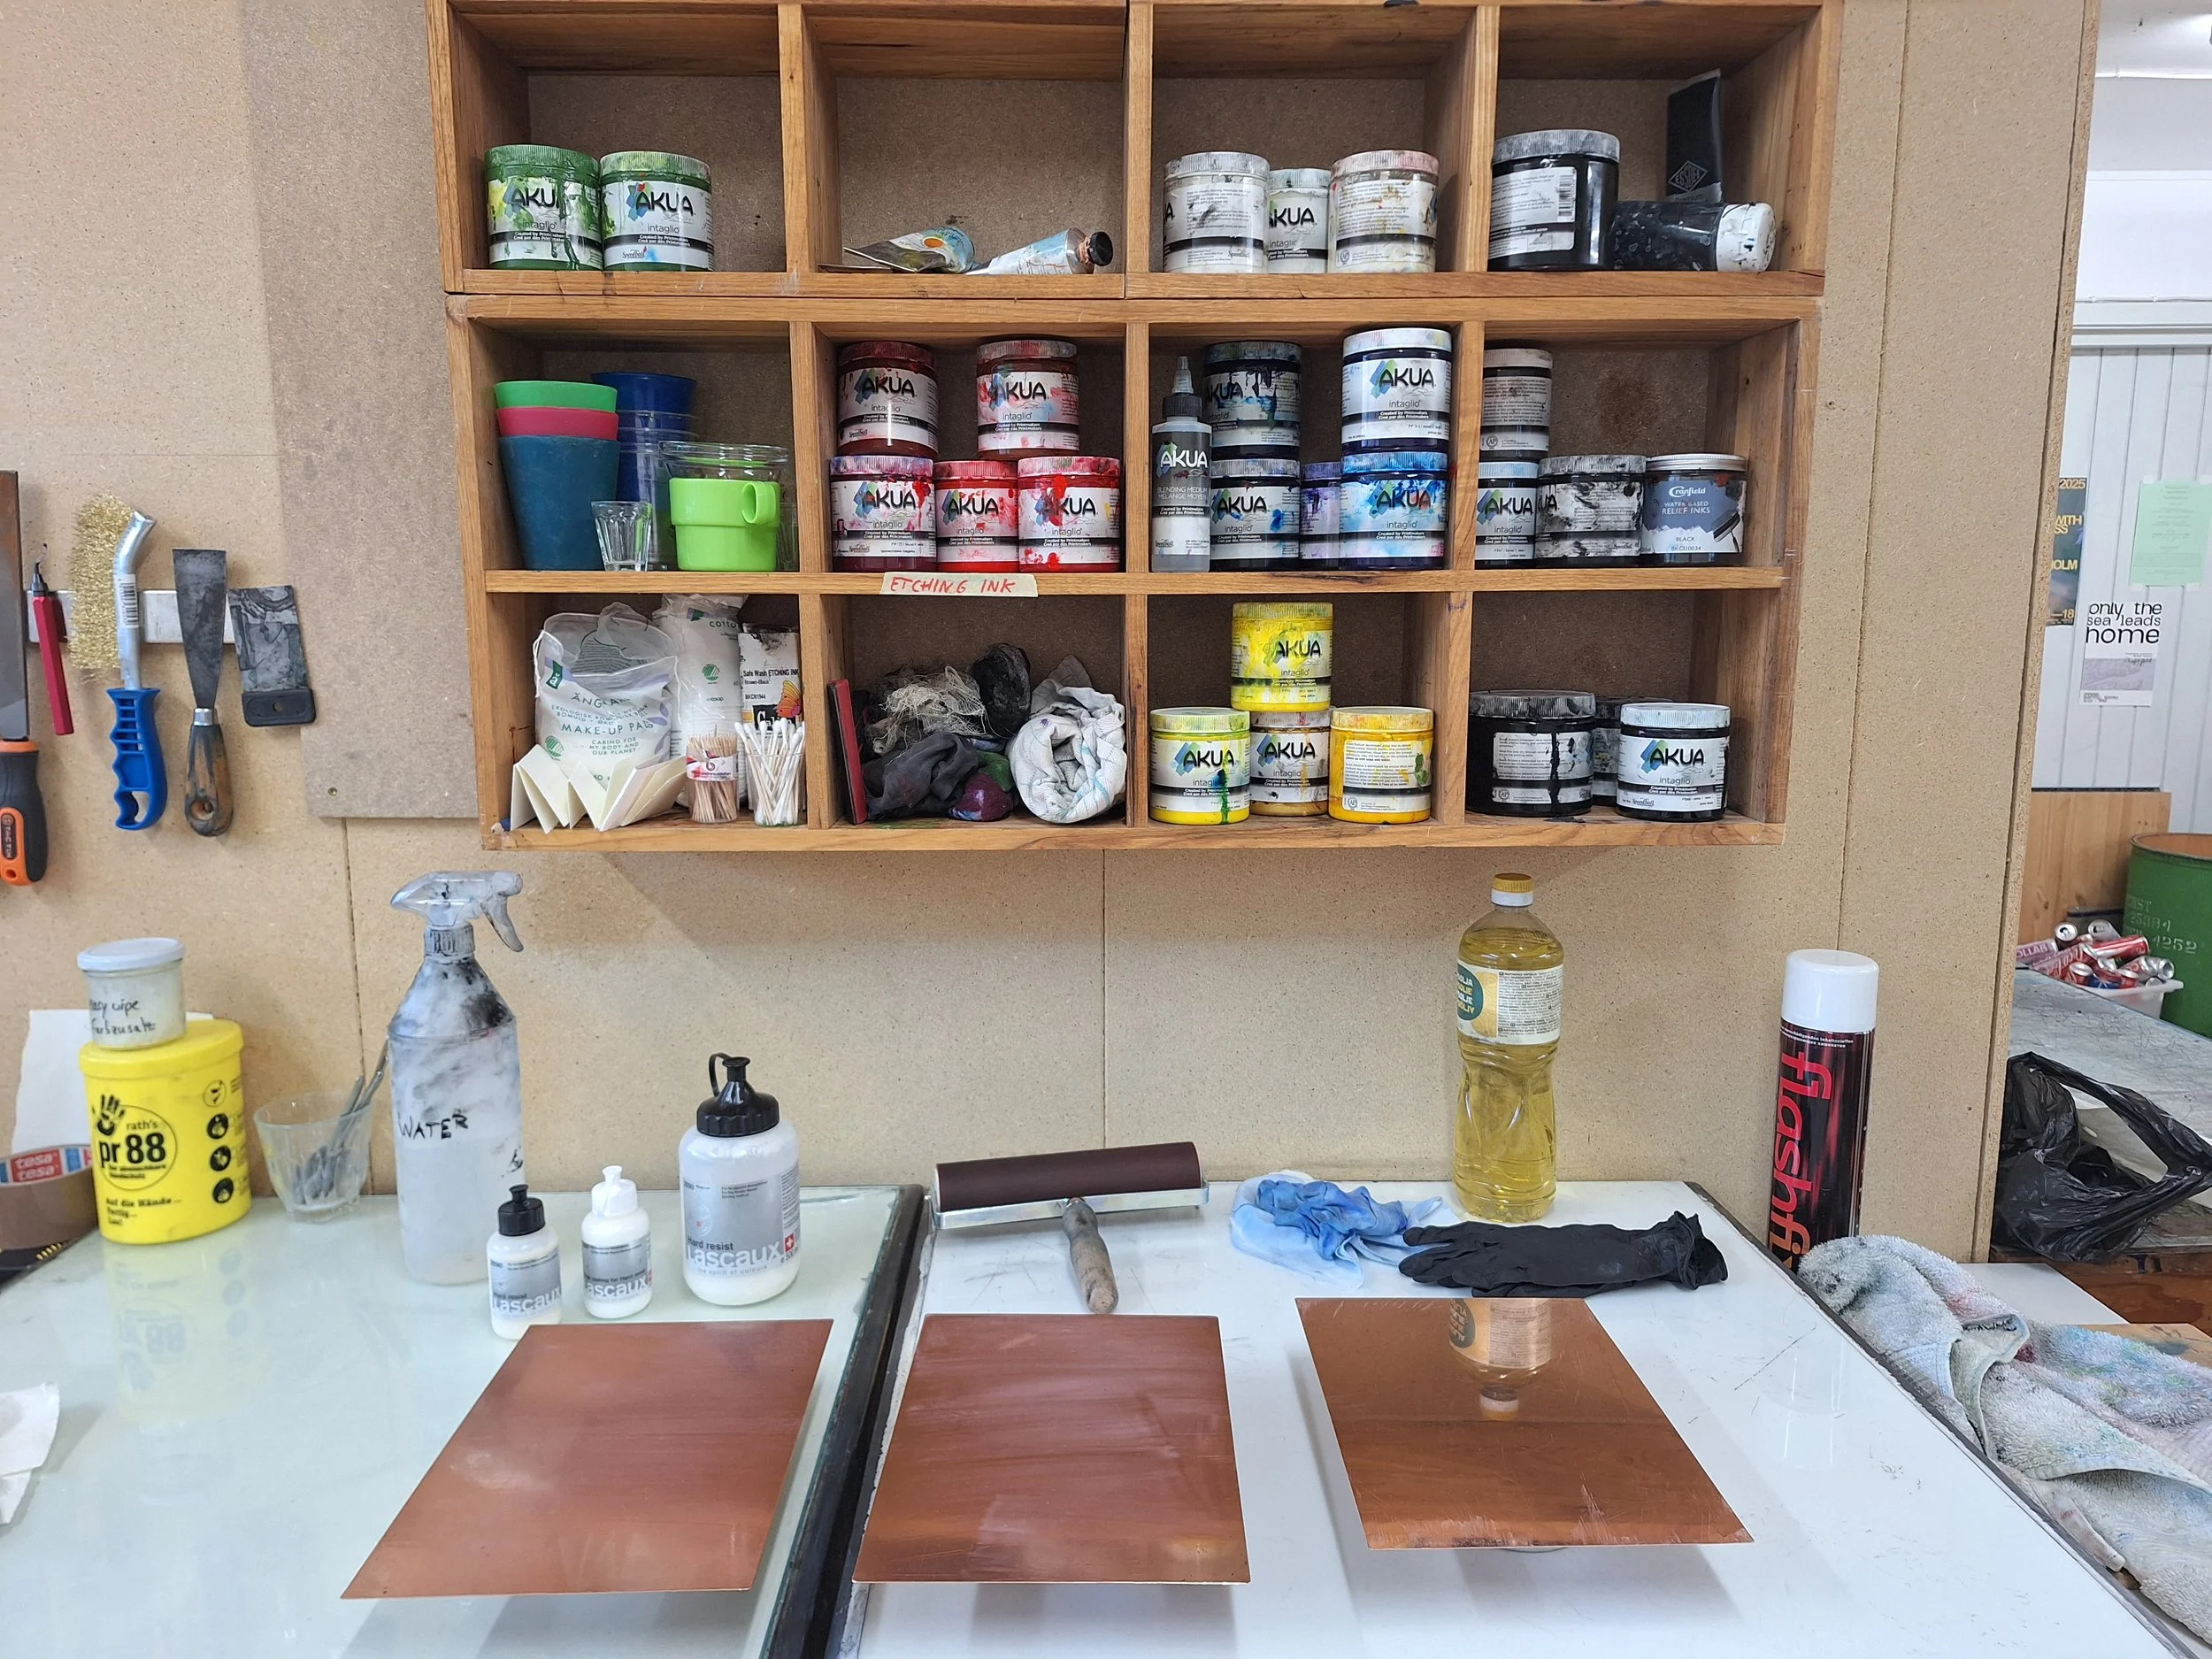
Degreasing copper plates and applying Lascaux hard resist with a brush.
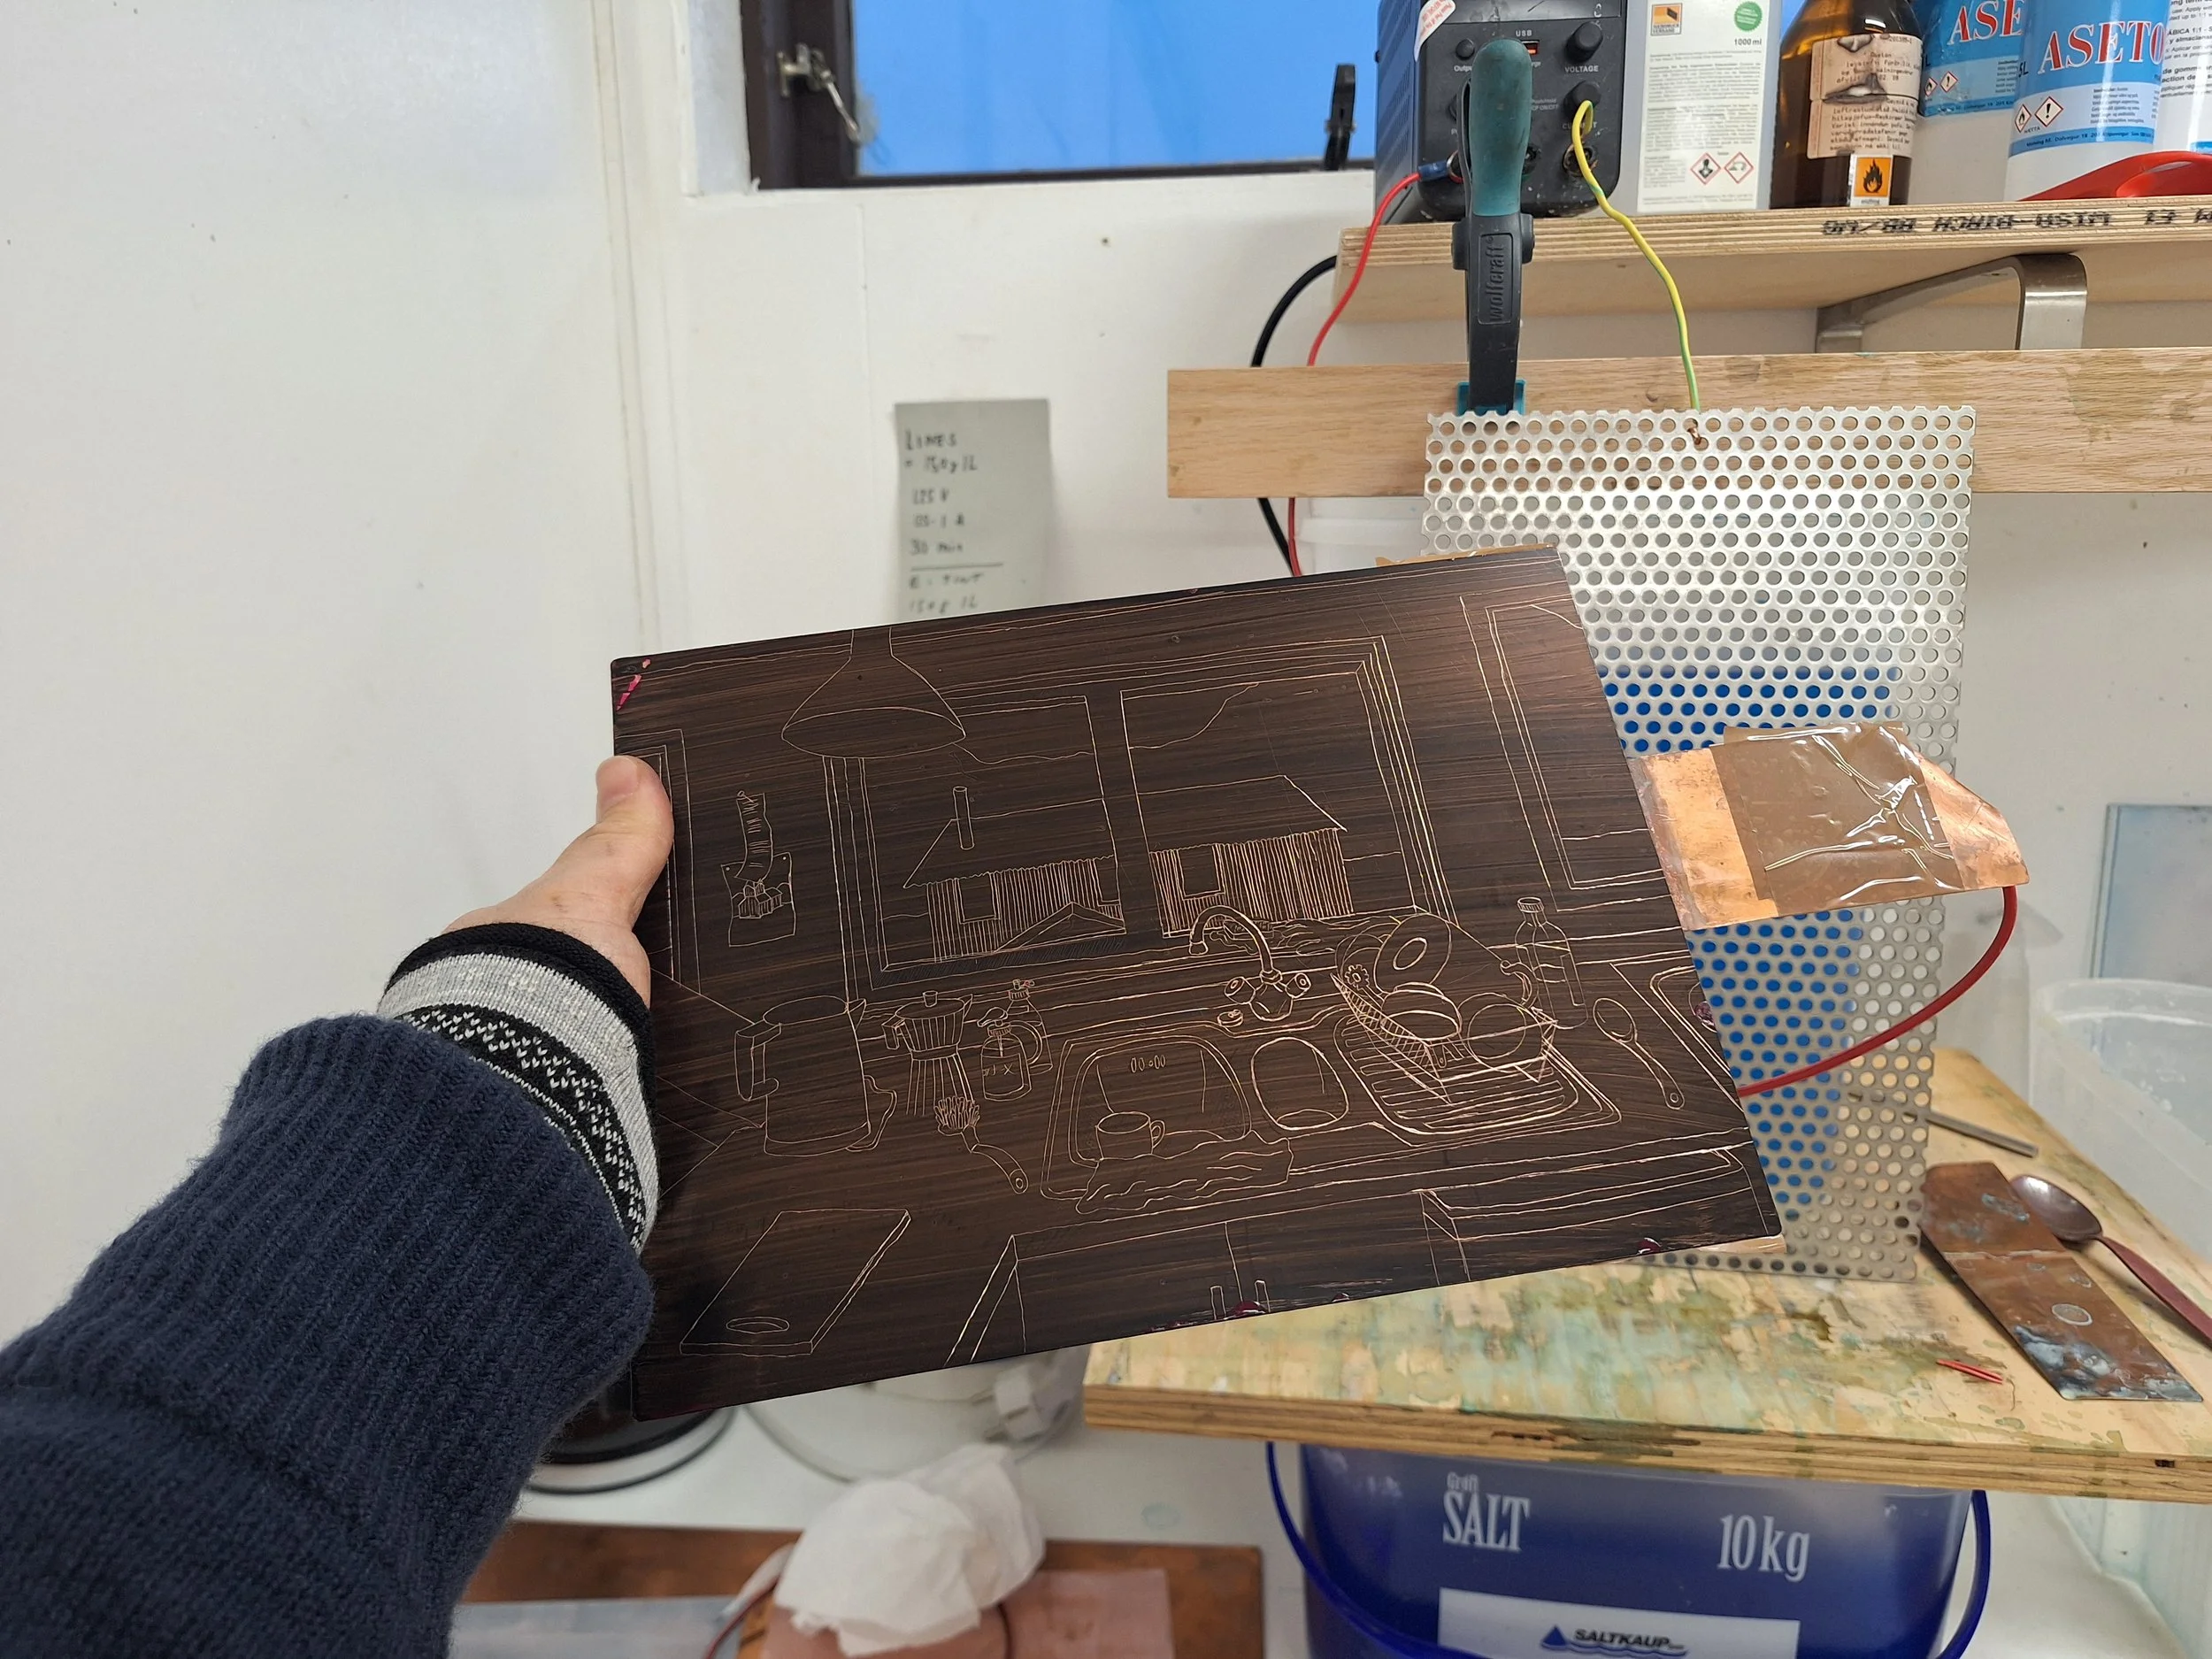
A drawing of our kitchen scratched into a Lascaux hard resist mixed with Indian ink. As the Lascaux hard resist is transparent, thus making it near impossible to tell where you have scratched your image, we read that adding Indian ink was a possible solution.
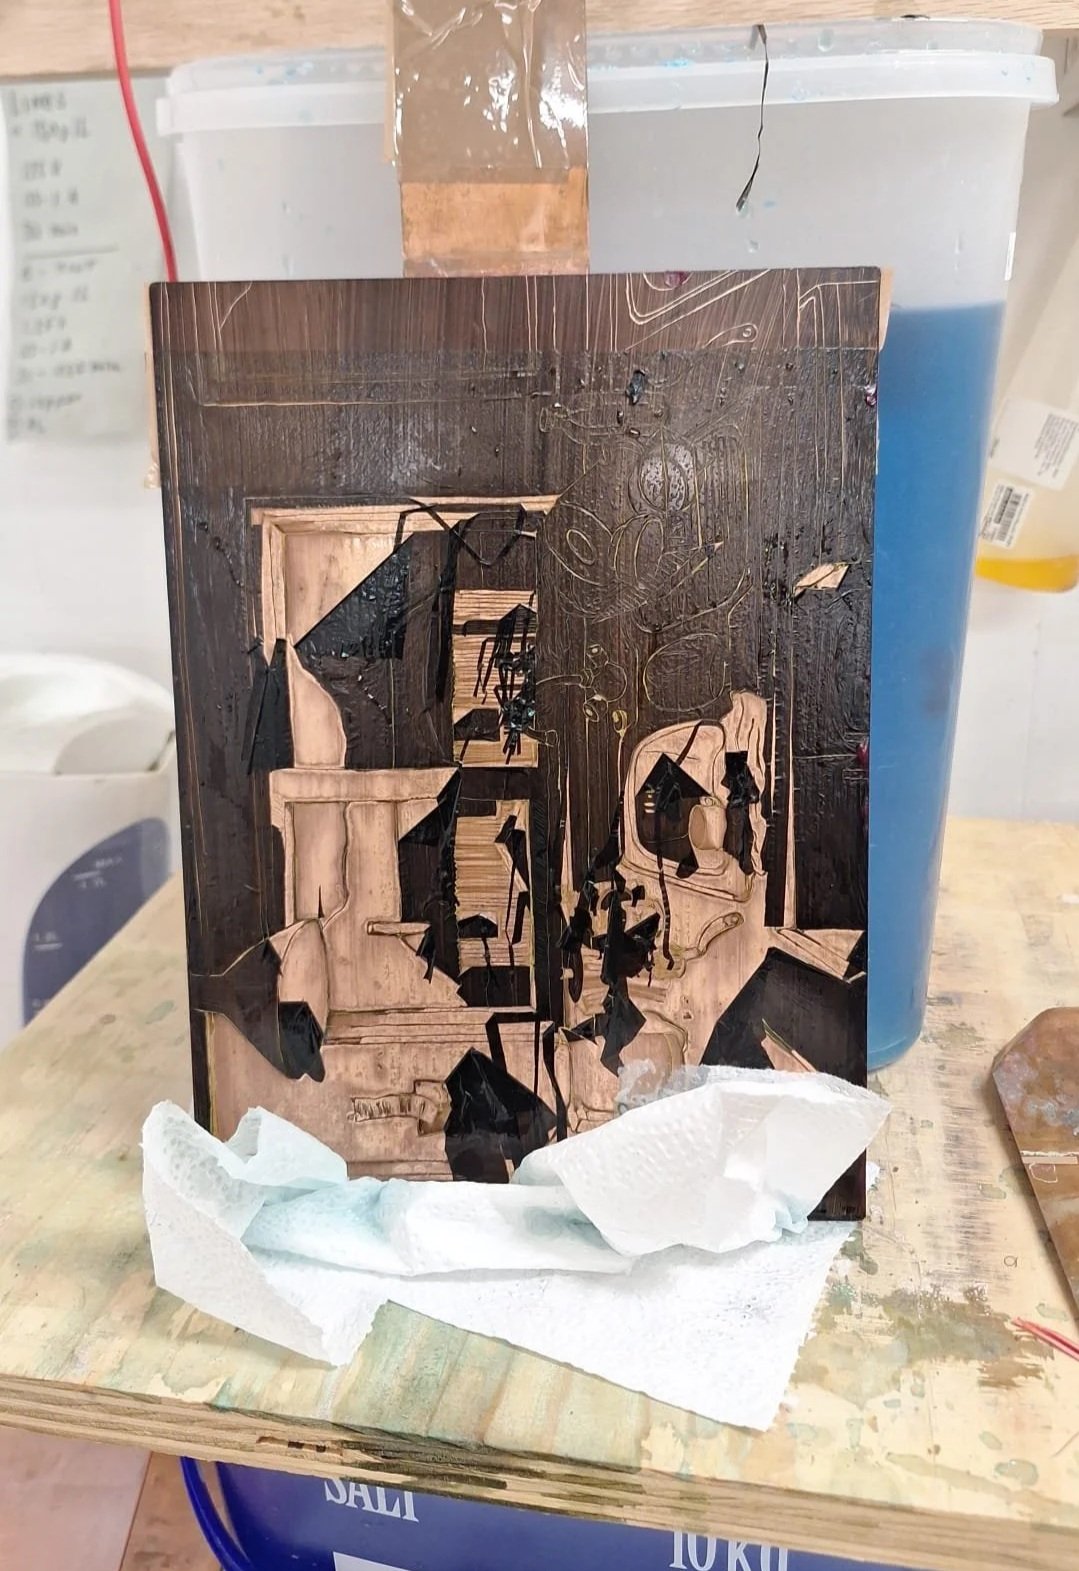
The Lascaux and Indian-ink mixture began dissolving after 15 minutes - so clearly not a good combination!
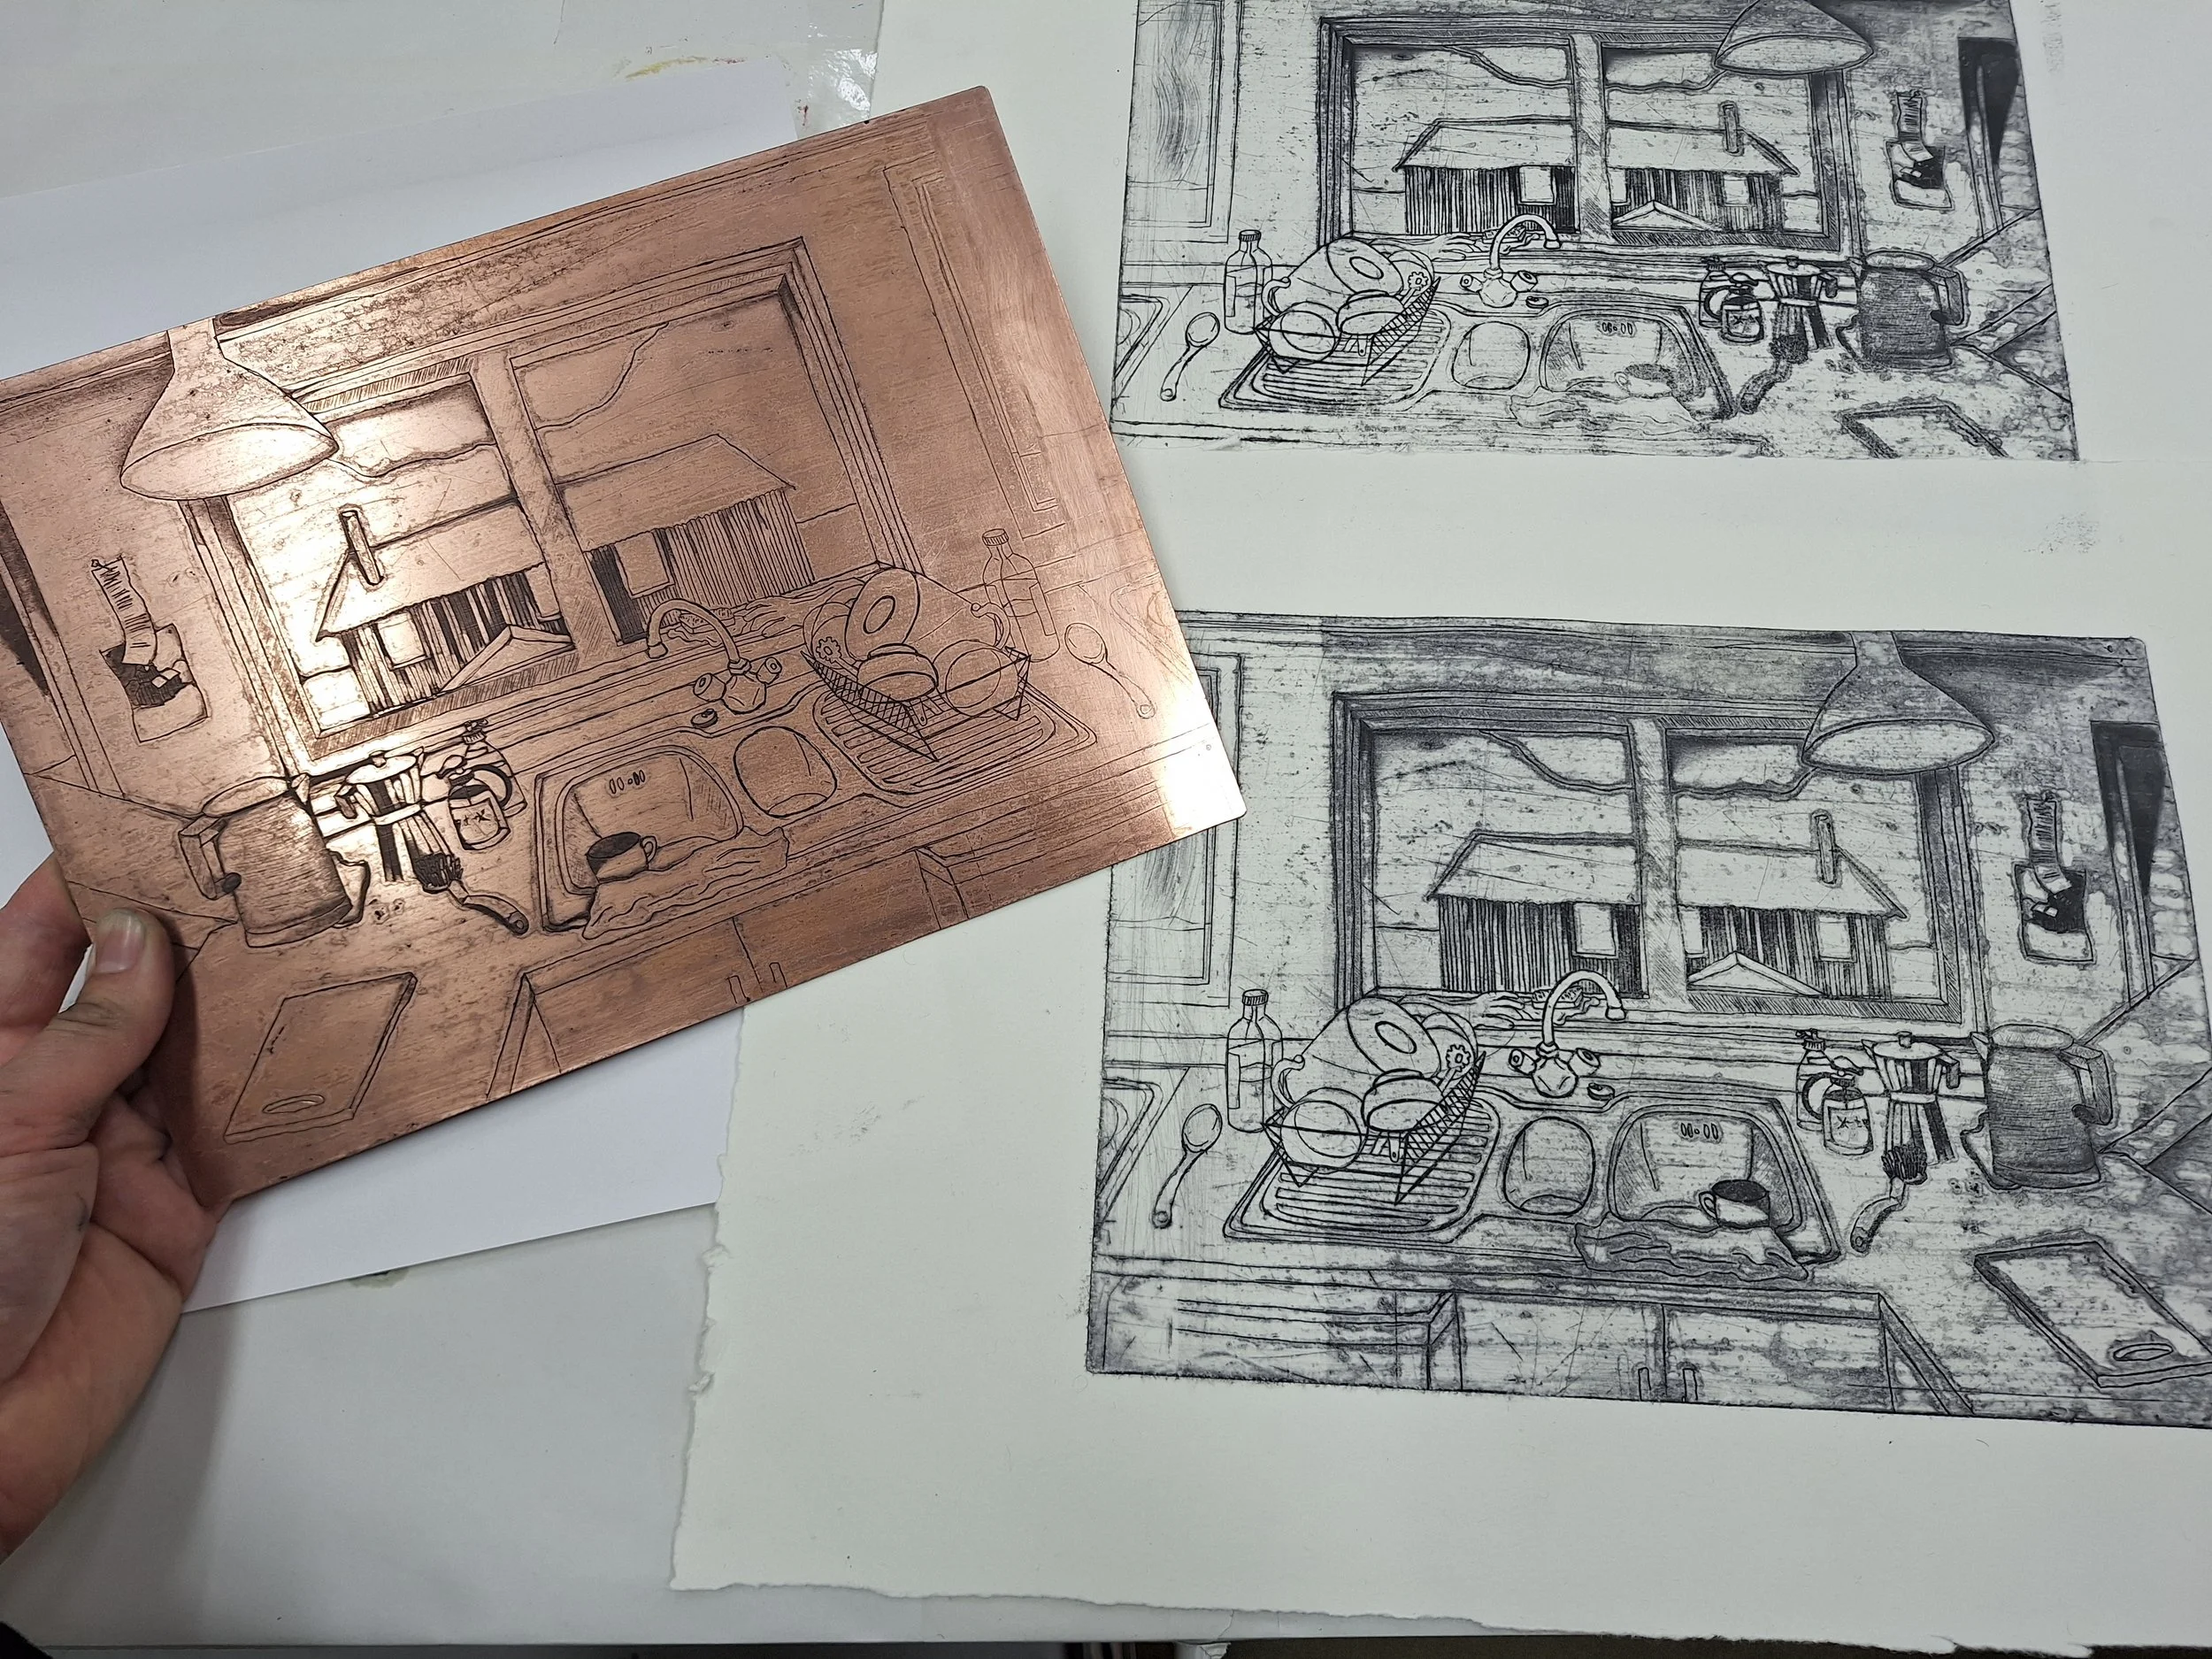
The plate and print - lots of strange things happening here!
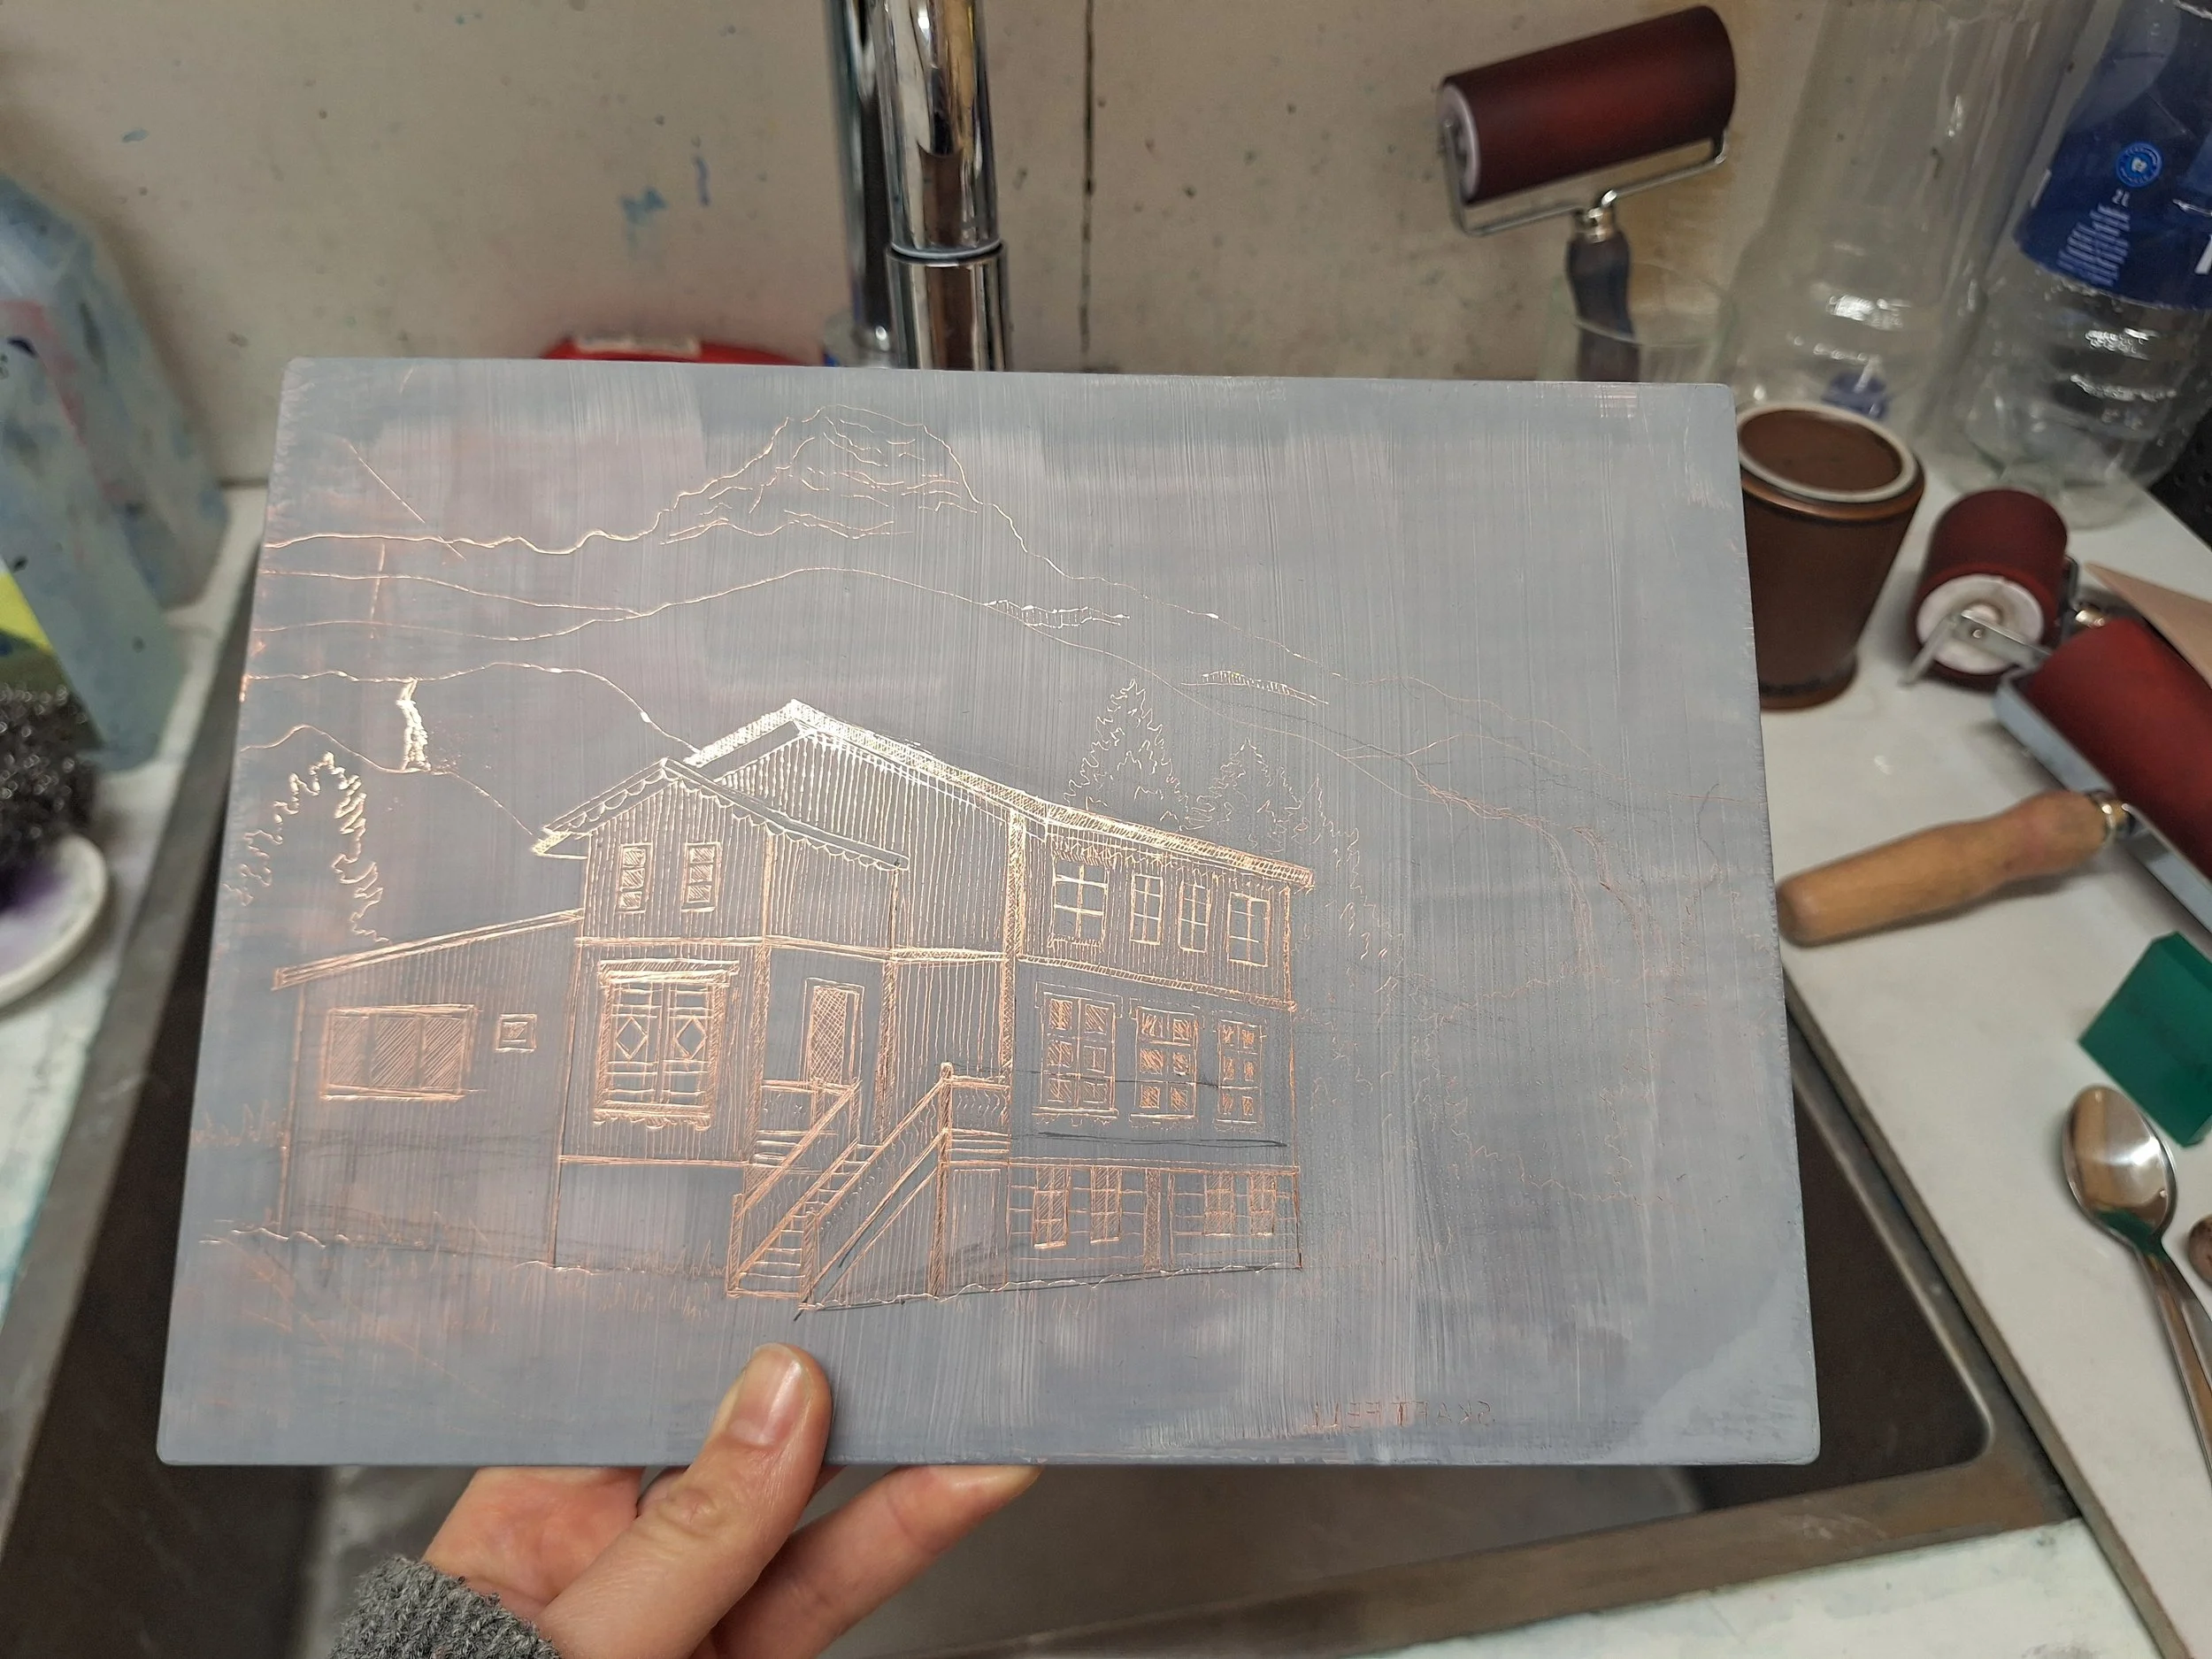
A drawing of Skaftfell Art Center ready to be etched. Here I have covered the transparent hard resist with Lascaux’s own colour coatings - a mix of black and white, as the white was too thick and the black was too runny. It was brittle and difficult to scratch into, but at least the hard resist underneath did not come off in large flakes during etching - although it did begin to dissolve around the 35-40 minute mark.
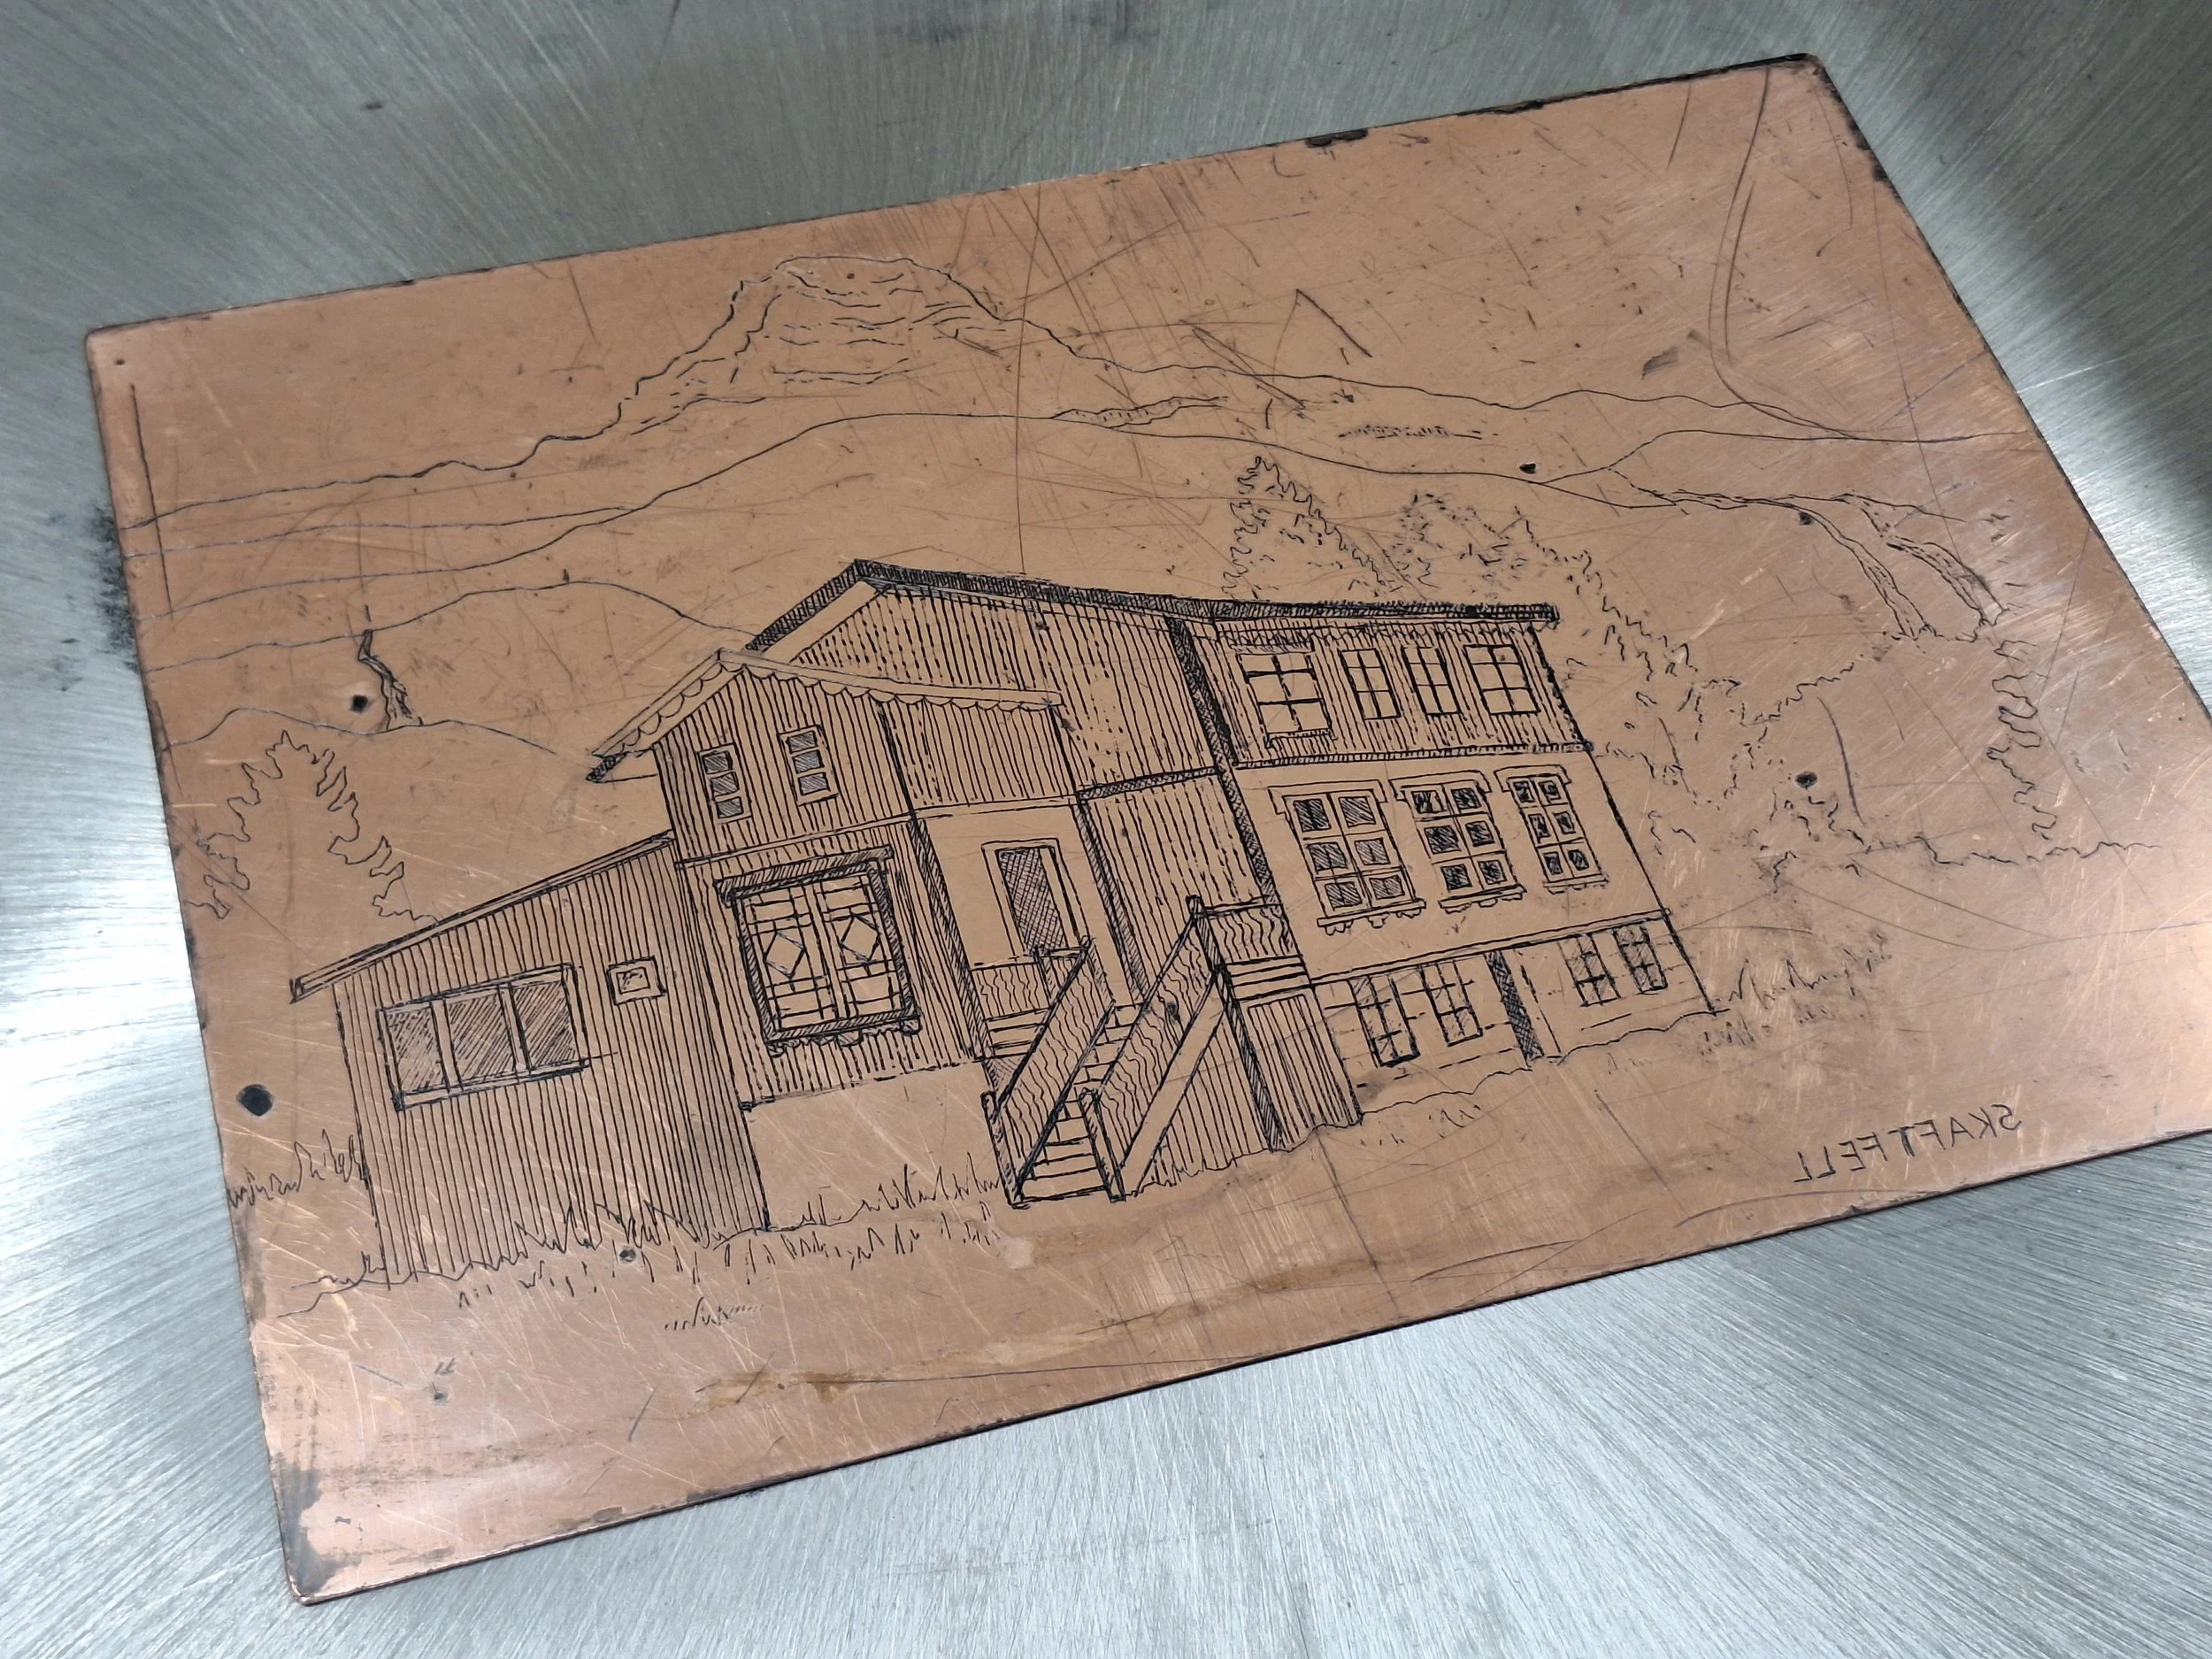
The plate after 45 minutes of etching. Some of my scratched lines never made it through the top colour coating and down through the hard resist, resulting that they never etched. The lines that did etch became rather furry with occasional open bites due to the hard resist dissolving. Clearly the plate should not be submerged for more than 30 minutes.
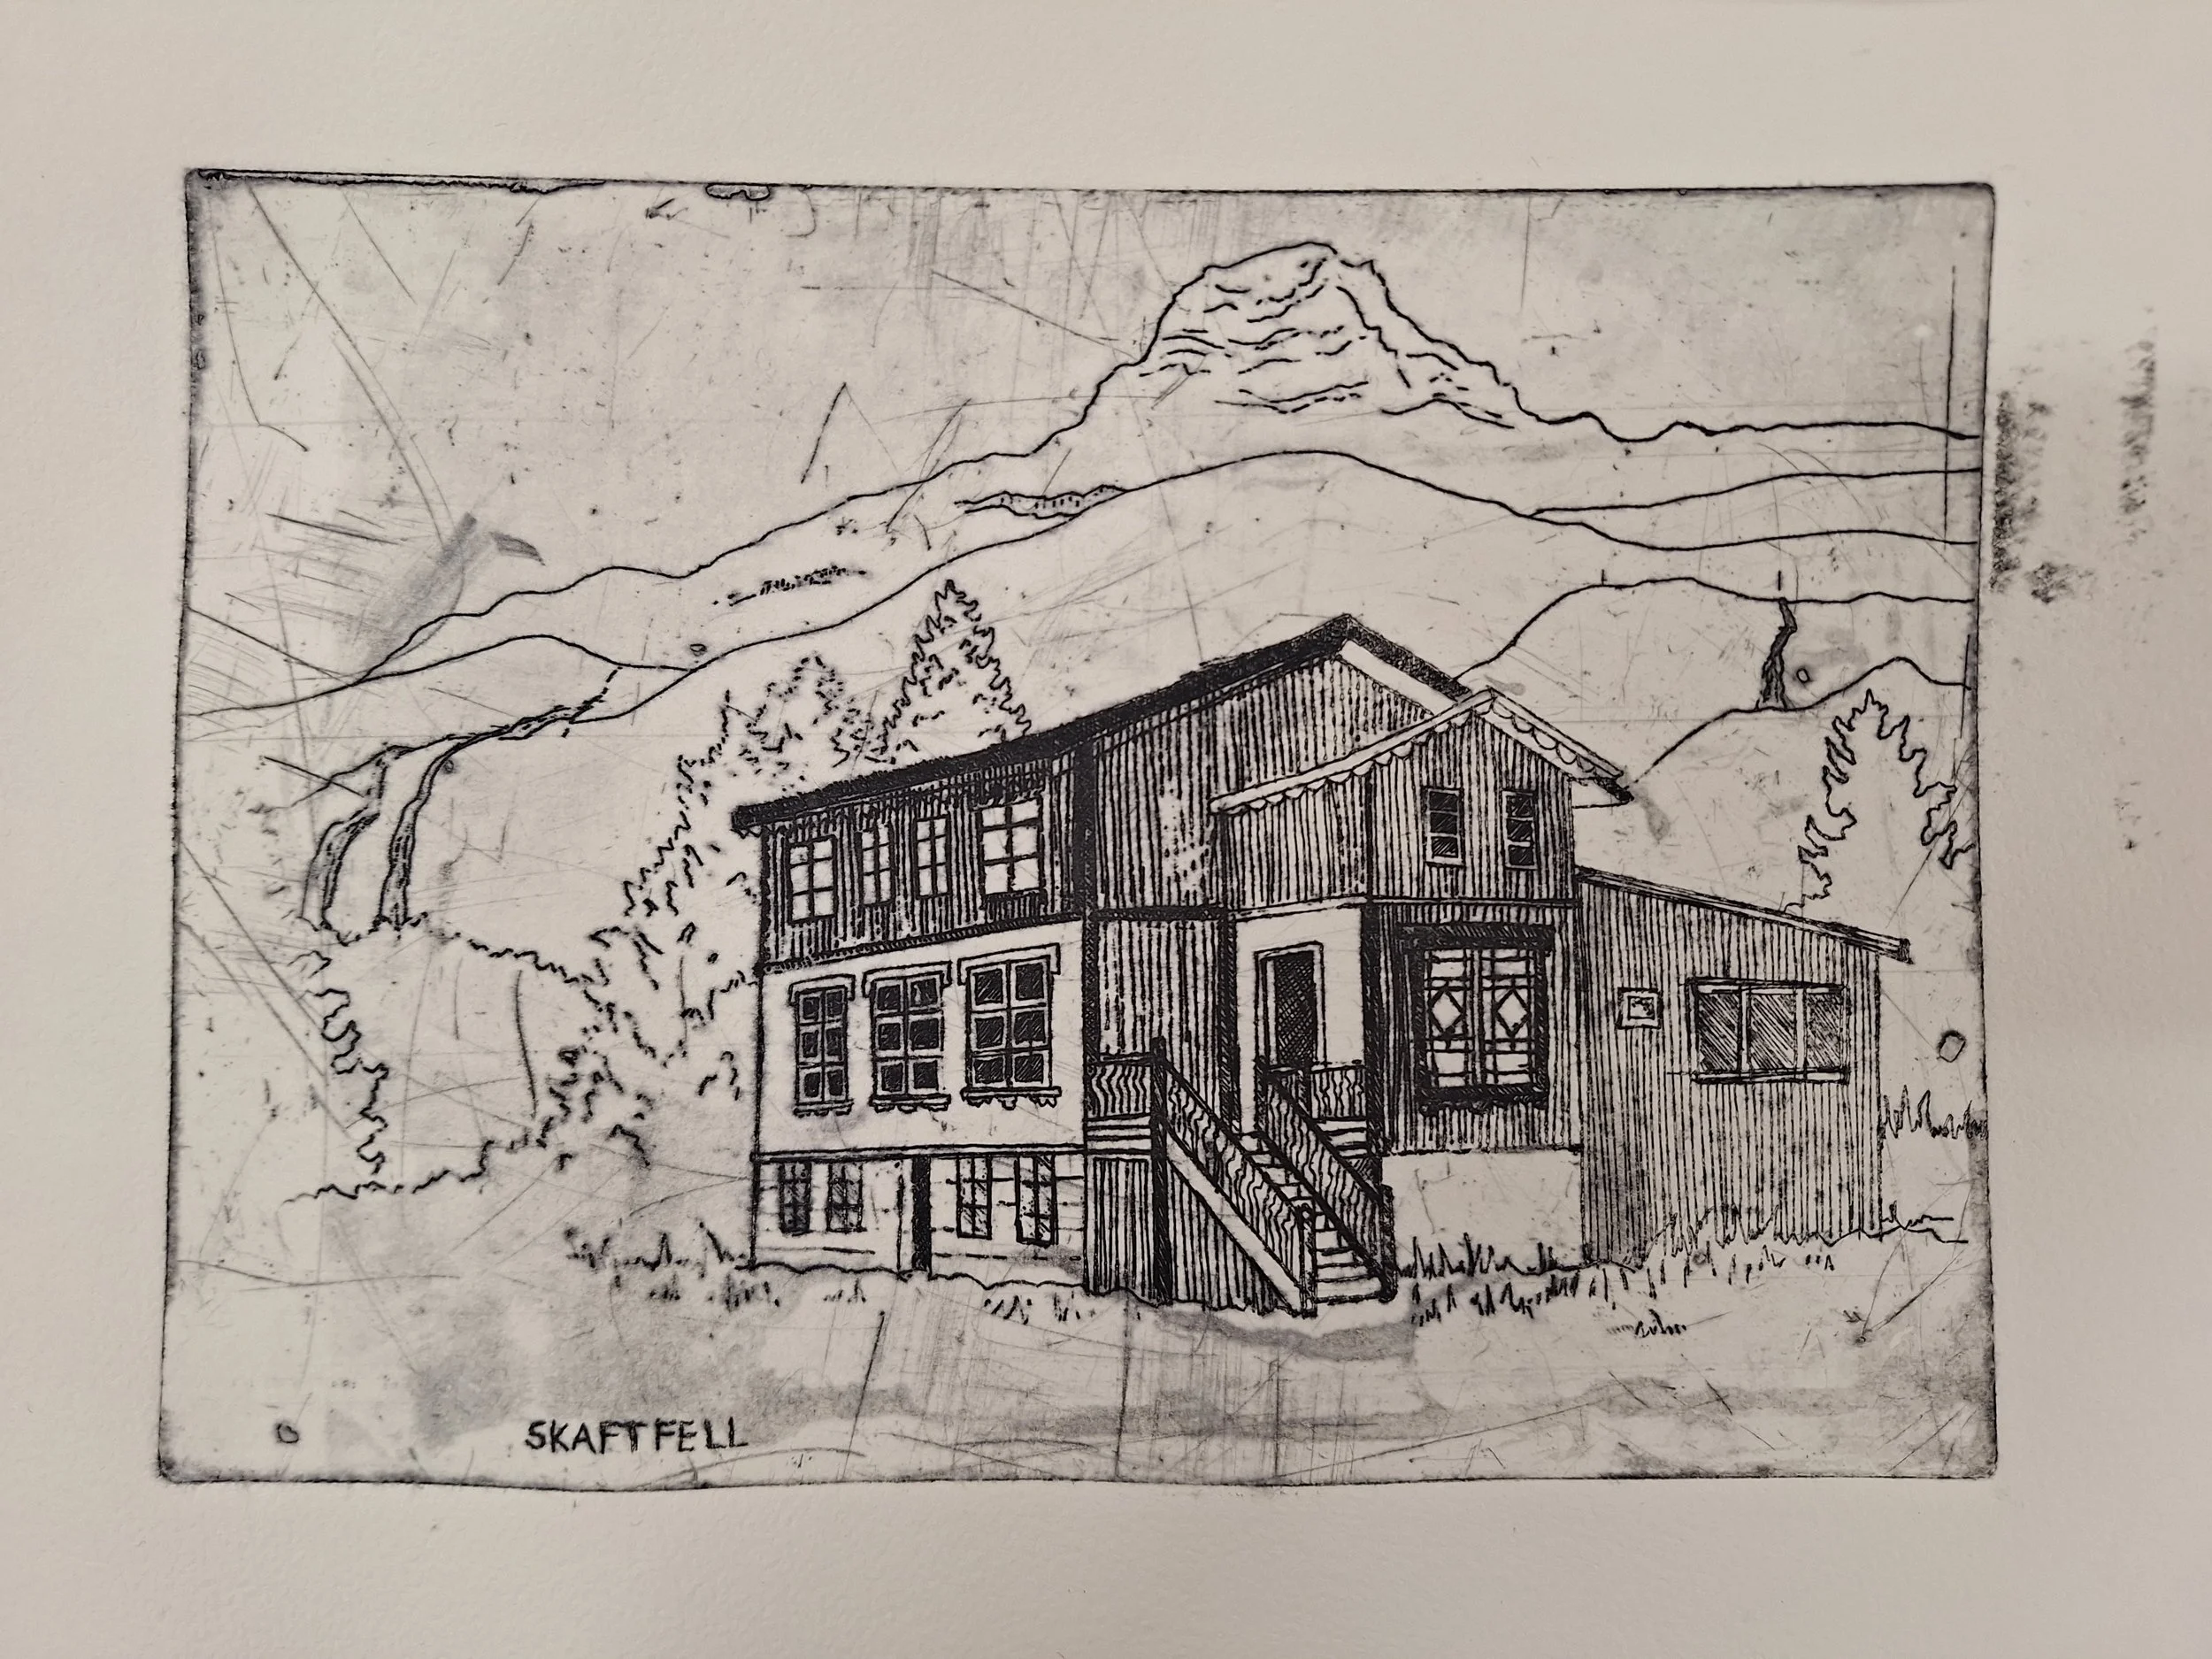
The finished print. I still really like it, despite its technical flaws! Also, this is my first free-hand drawing of a building in many years, so I am quite chuffed!
Despite many frustrations and a lot of head scratching - one thing I have been enjoying a lot about learning non-toxic processes, is familiarising myself with electrolyte etching. As mentioned in the previous blog post, it is a metalworking process that uses a direct electric current and an electrolyte solution (of water and salt) to remove metal without using harsh acids. It is definitely a method that is easy and safe to set up in one’s own home or studio, and a lot less messy than ferric chloride! While I still have a lot of experimenting and research to do, it has been really fun to at least get a grip of the process!
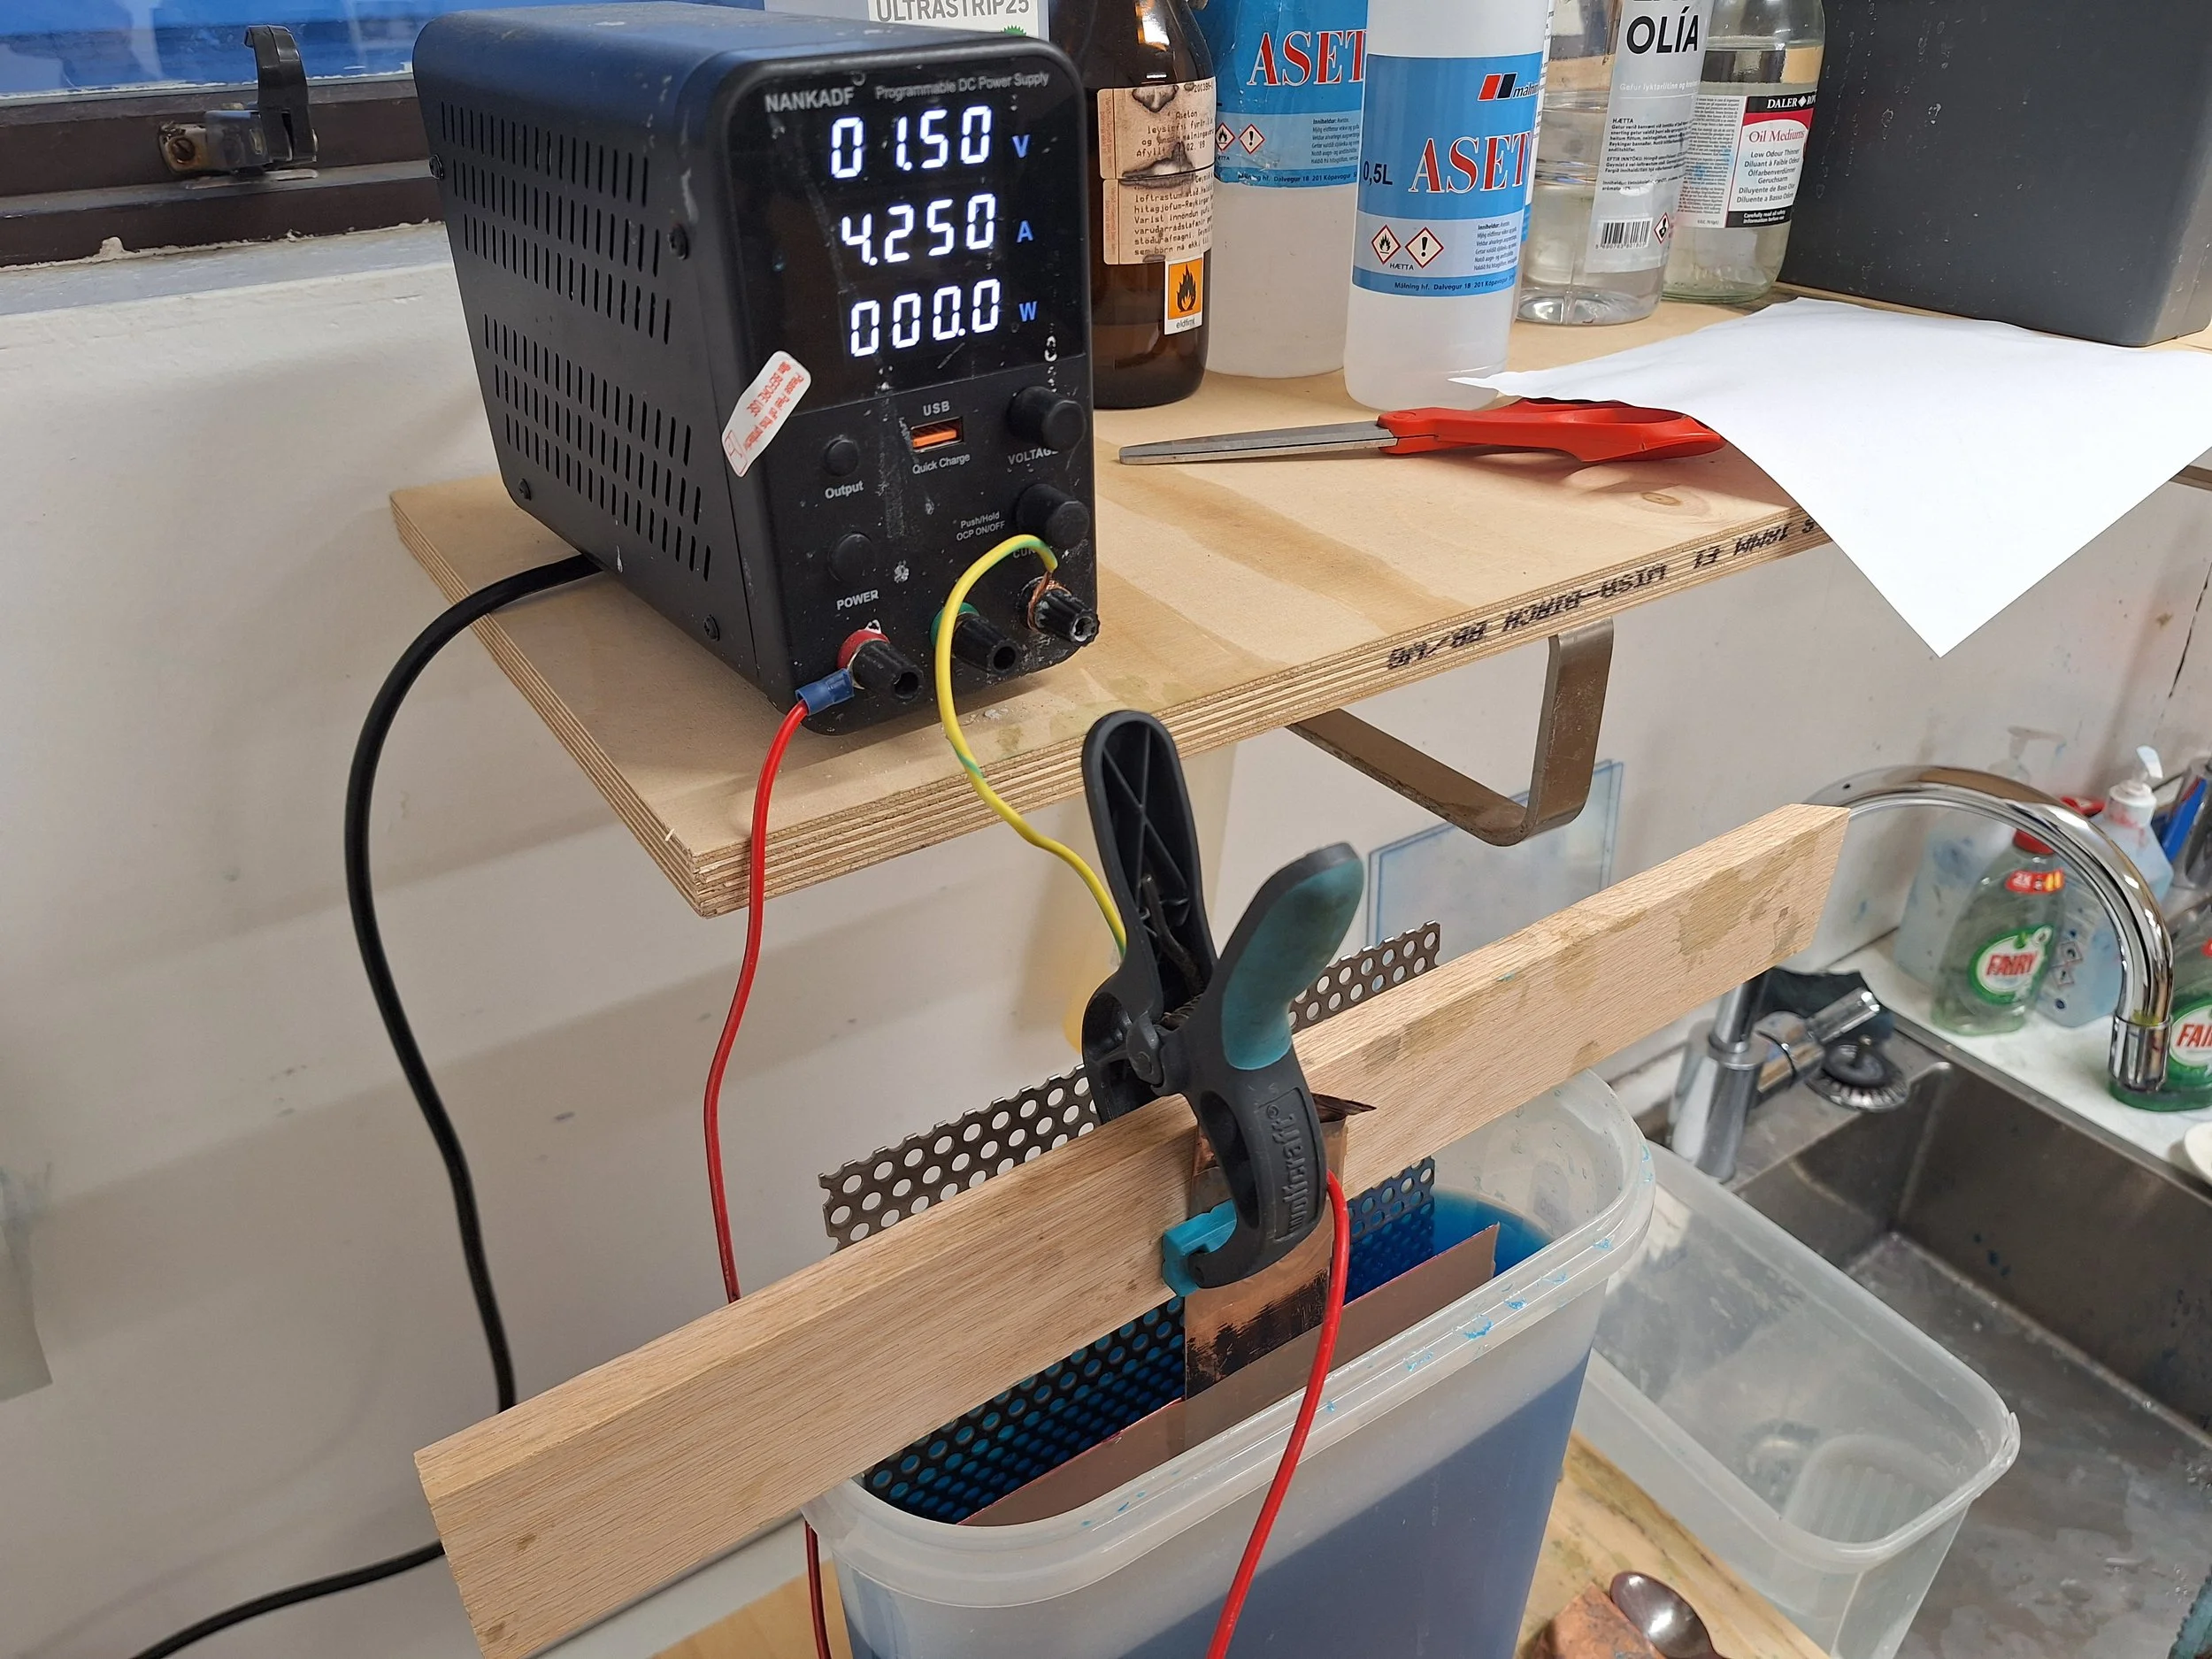
Electrolytic copper etching uses electricity and a conductive salt, such as a copper sulphate solution, to dissolve copper away from unprotected areas of the metal. The Anode (copper plate) is connected to the positive (+) terminal of a DC power supply. Copper atoms lose electrons and dissolve into the electrolyte as copper ions. The Cathode (the counter-electrode, in this case stainless steel) is connected to the negative (-) terminal. Copper ions from the solution or anode are reduced and deposit onto this piece.
In addition to trying my hands at new ways of etching, I have also spent my evenings working on a small mezzotint. Mezzotint must be my favourite of all printmaking techniques, and I love how it is purely manual - requiring merely hand tools and a lot of patience! However, all studios are different, with different presses and inks - and this time it was striking to see just how much of a difference these variables can do to the same plate!
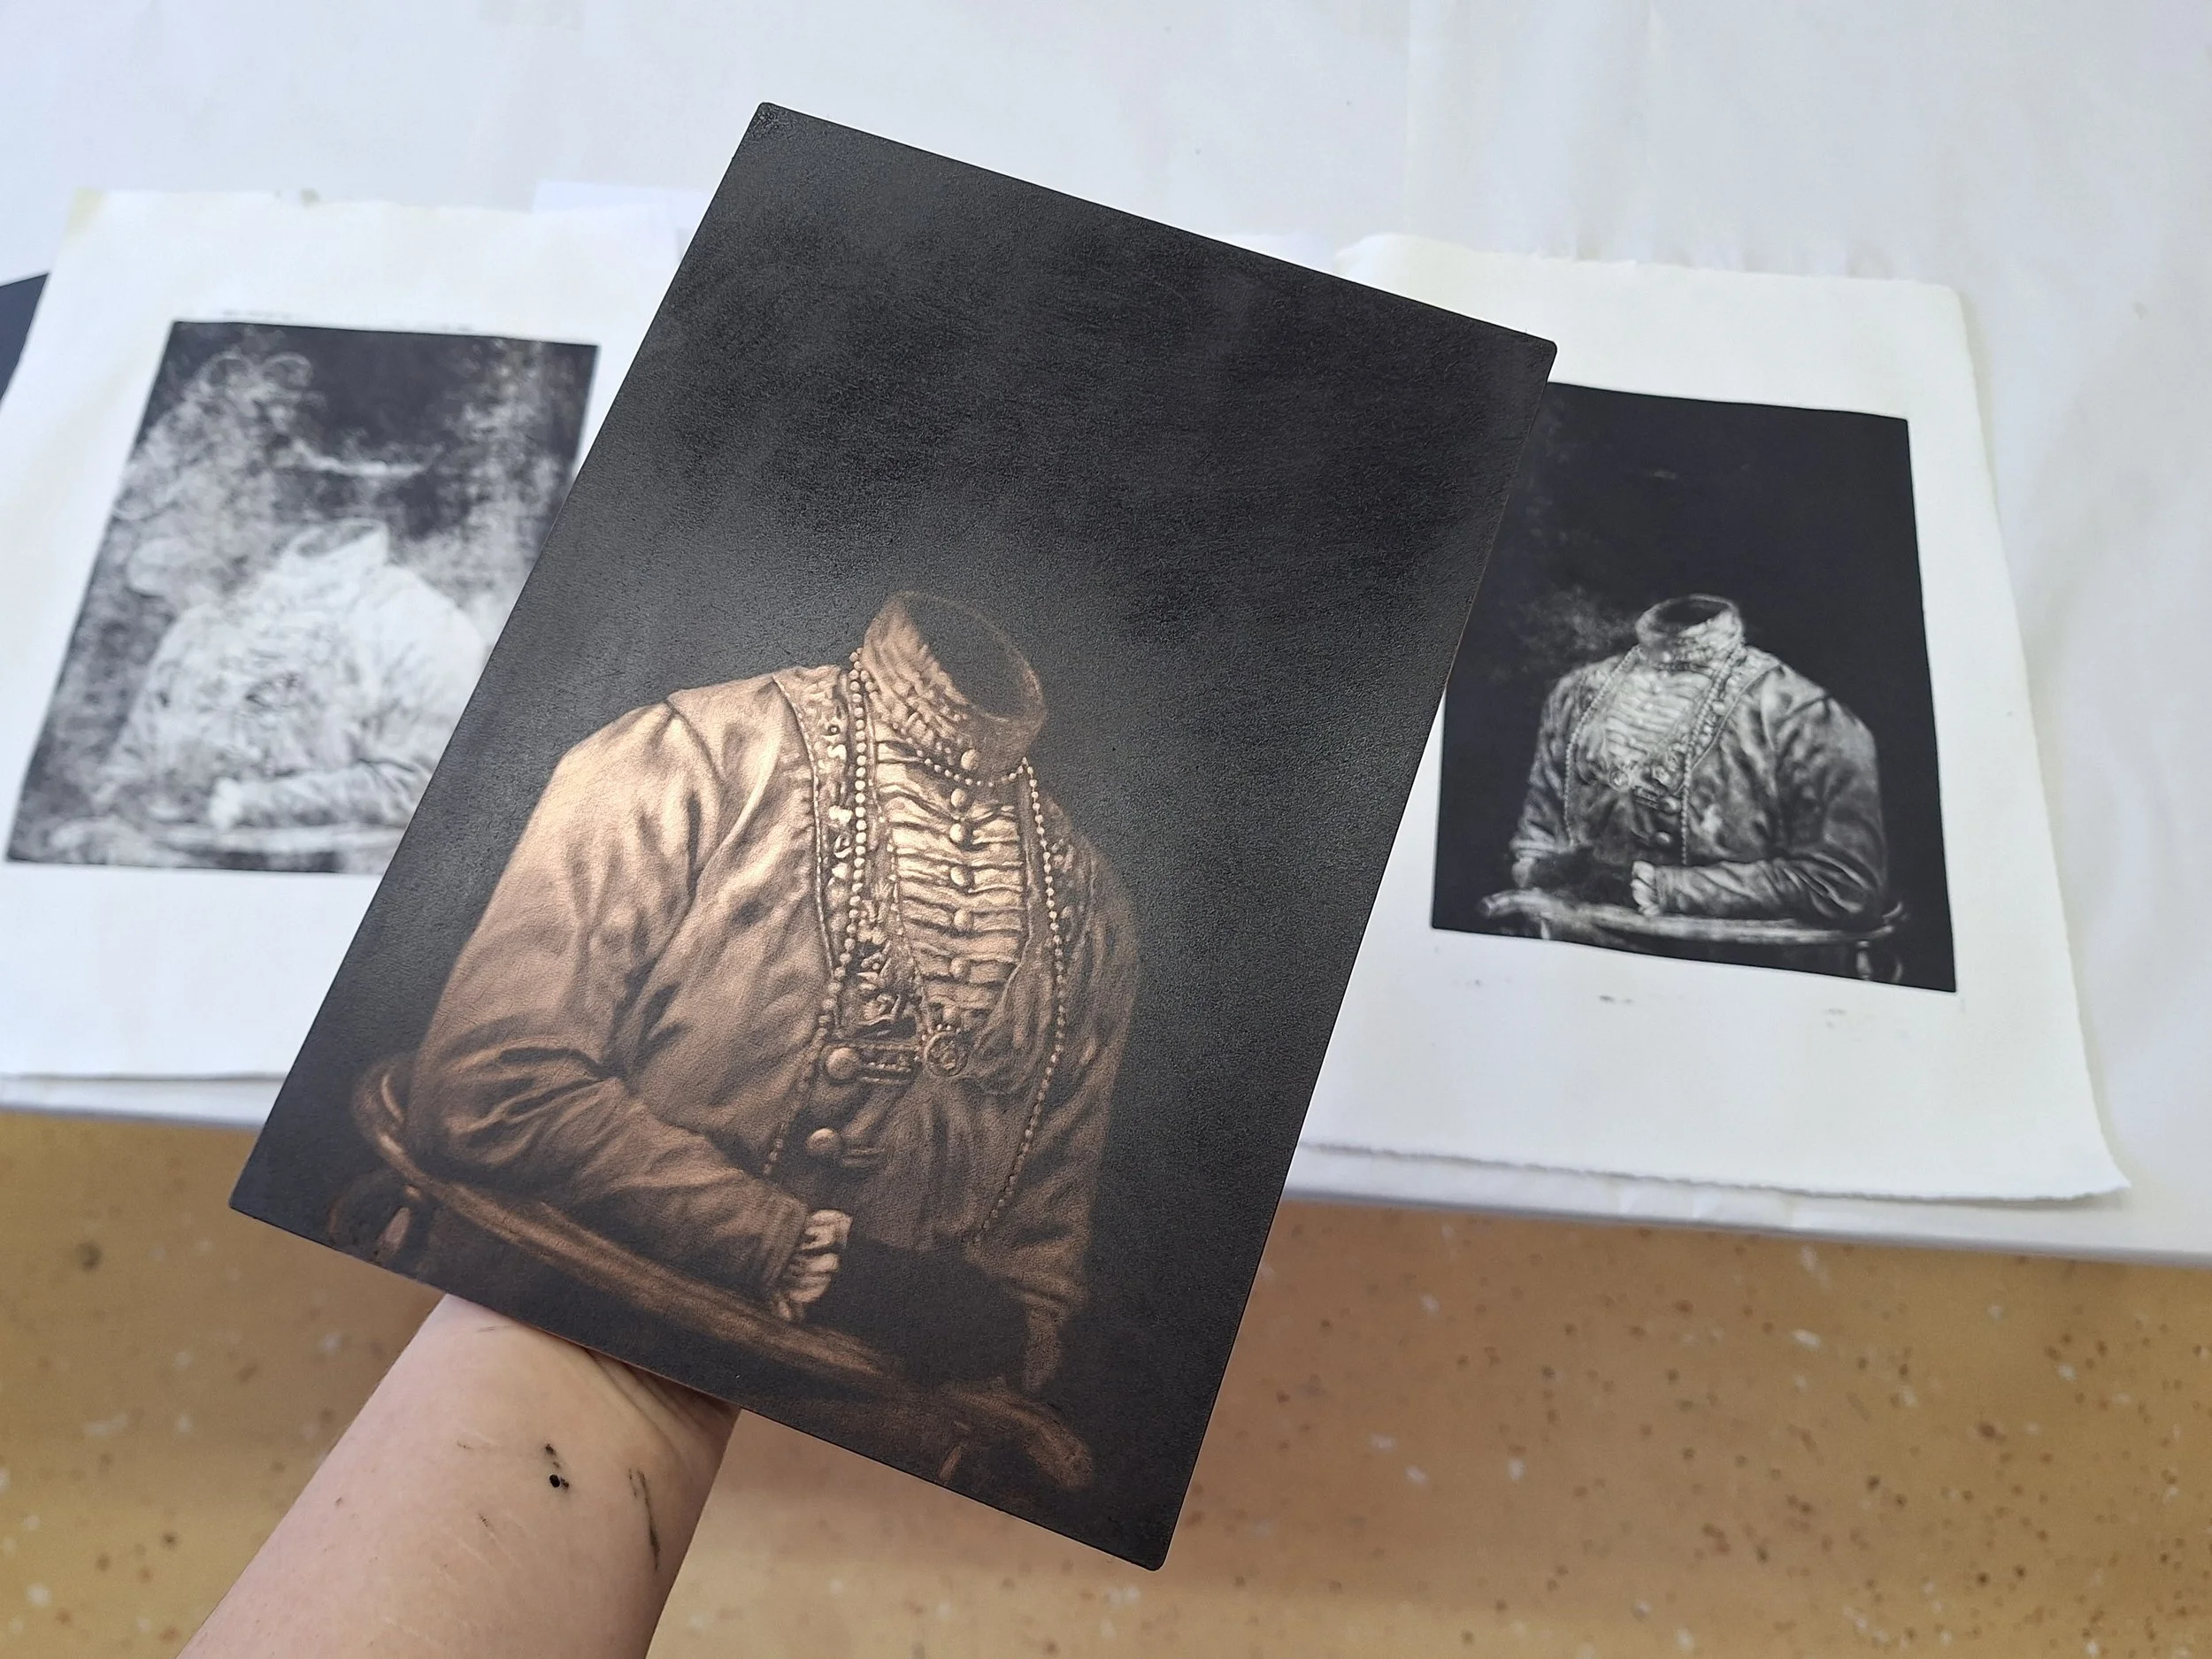
A mezzotint based on a portrait from an outdoor photo exhibition about the historical women of Seyðisfjörður.
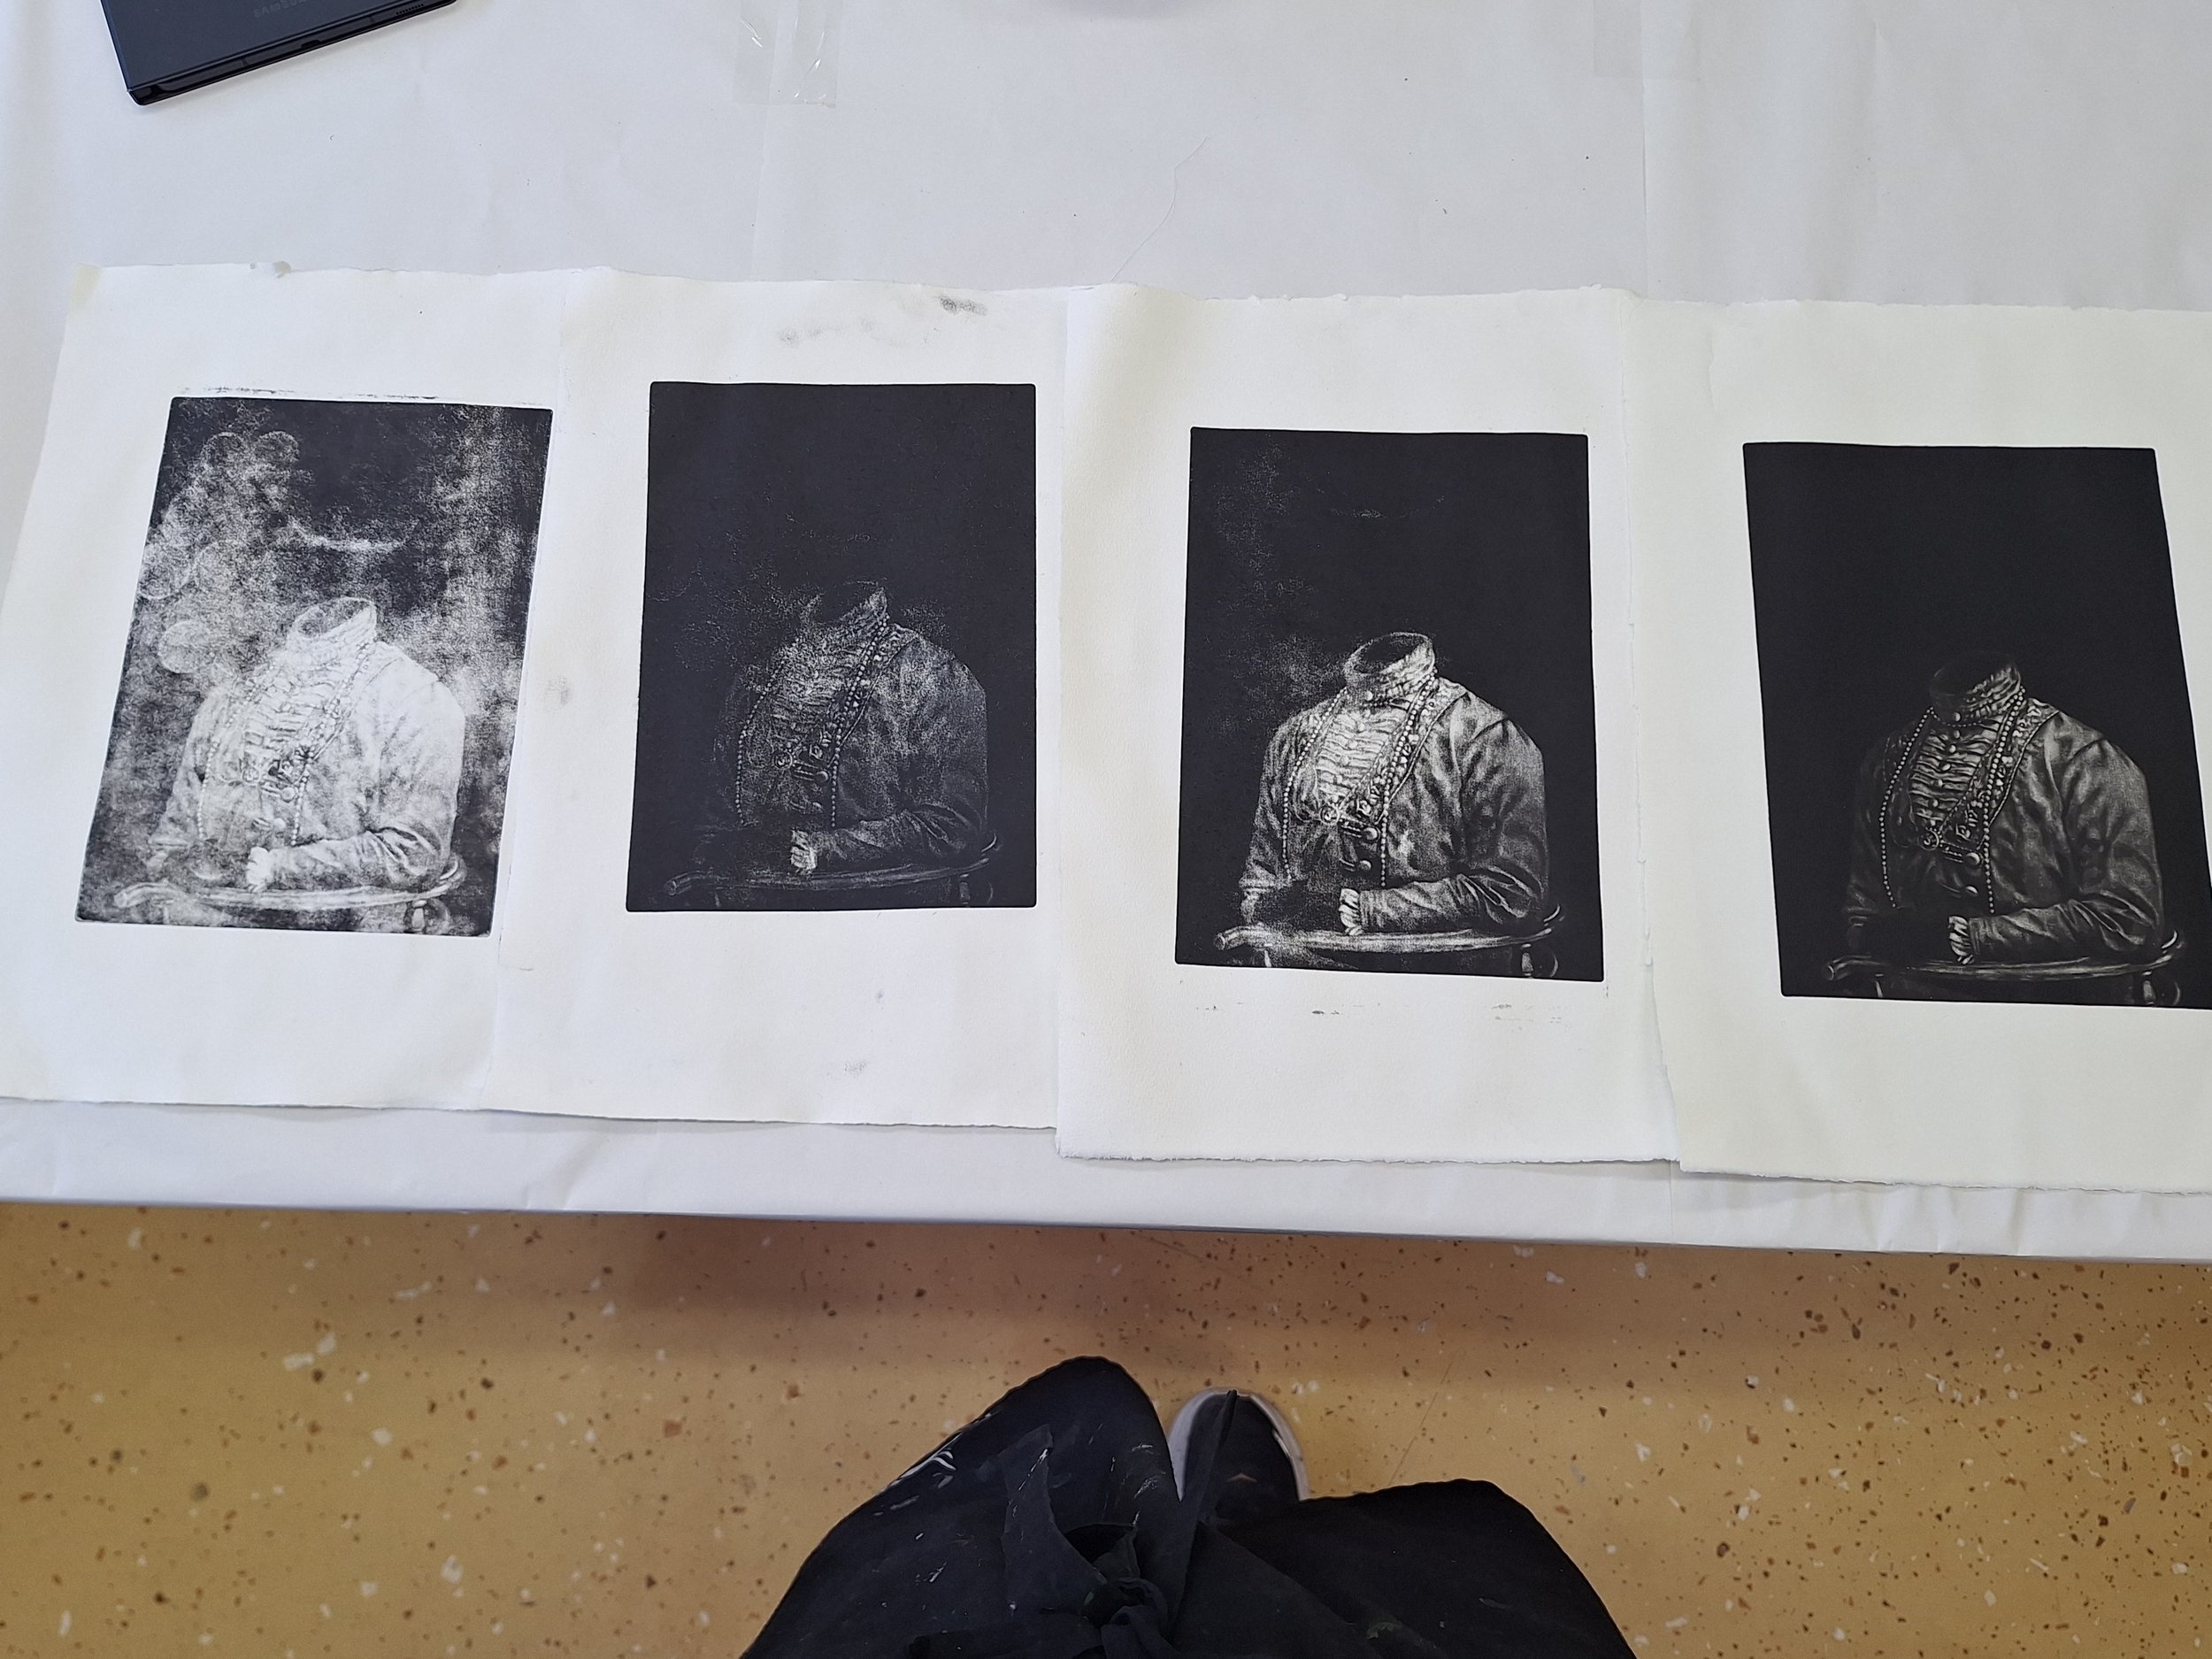
Three different inks, two different presses. In the end I had to ditch the water-based inks and revert back to my trusted Charbonnel 55985.
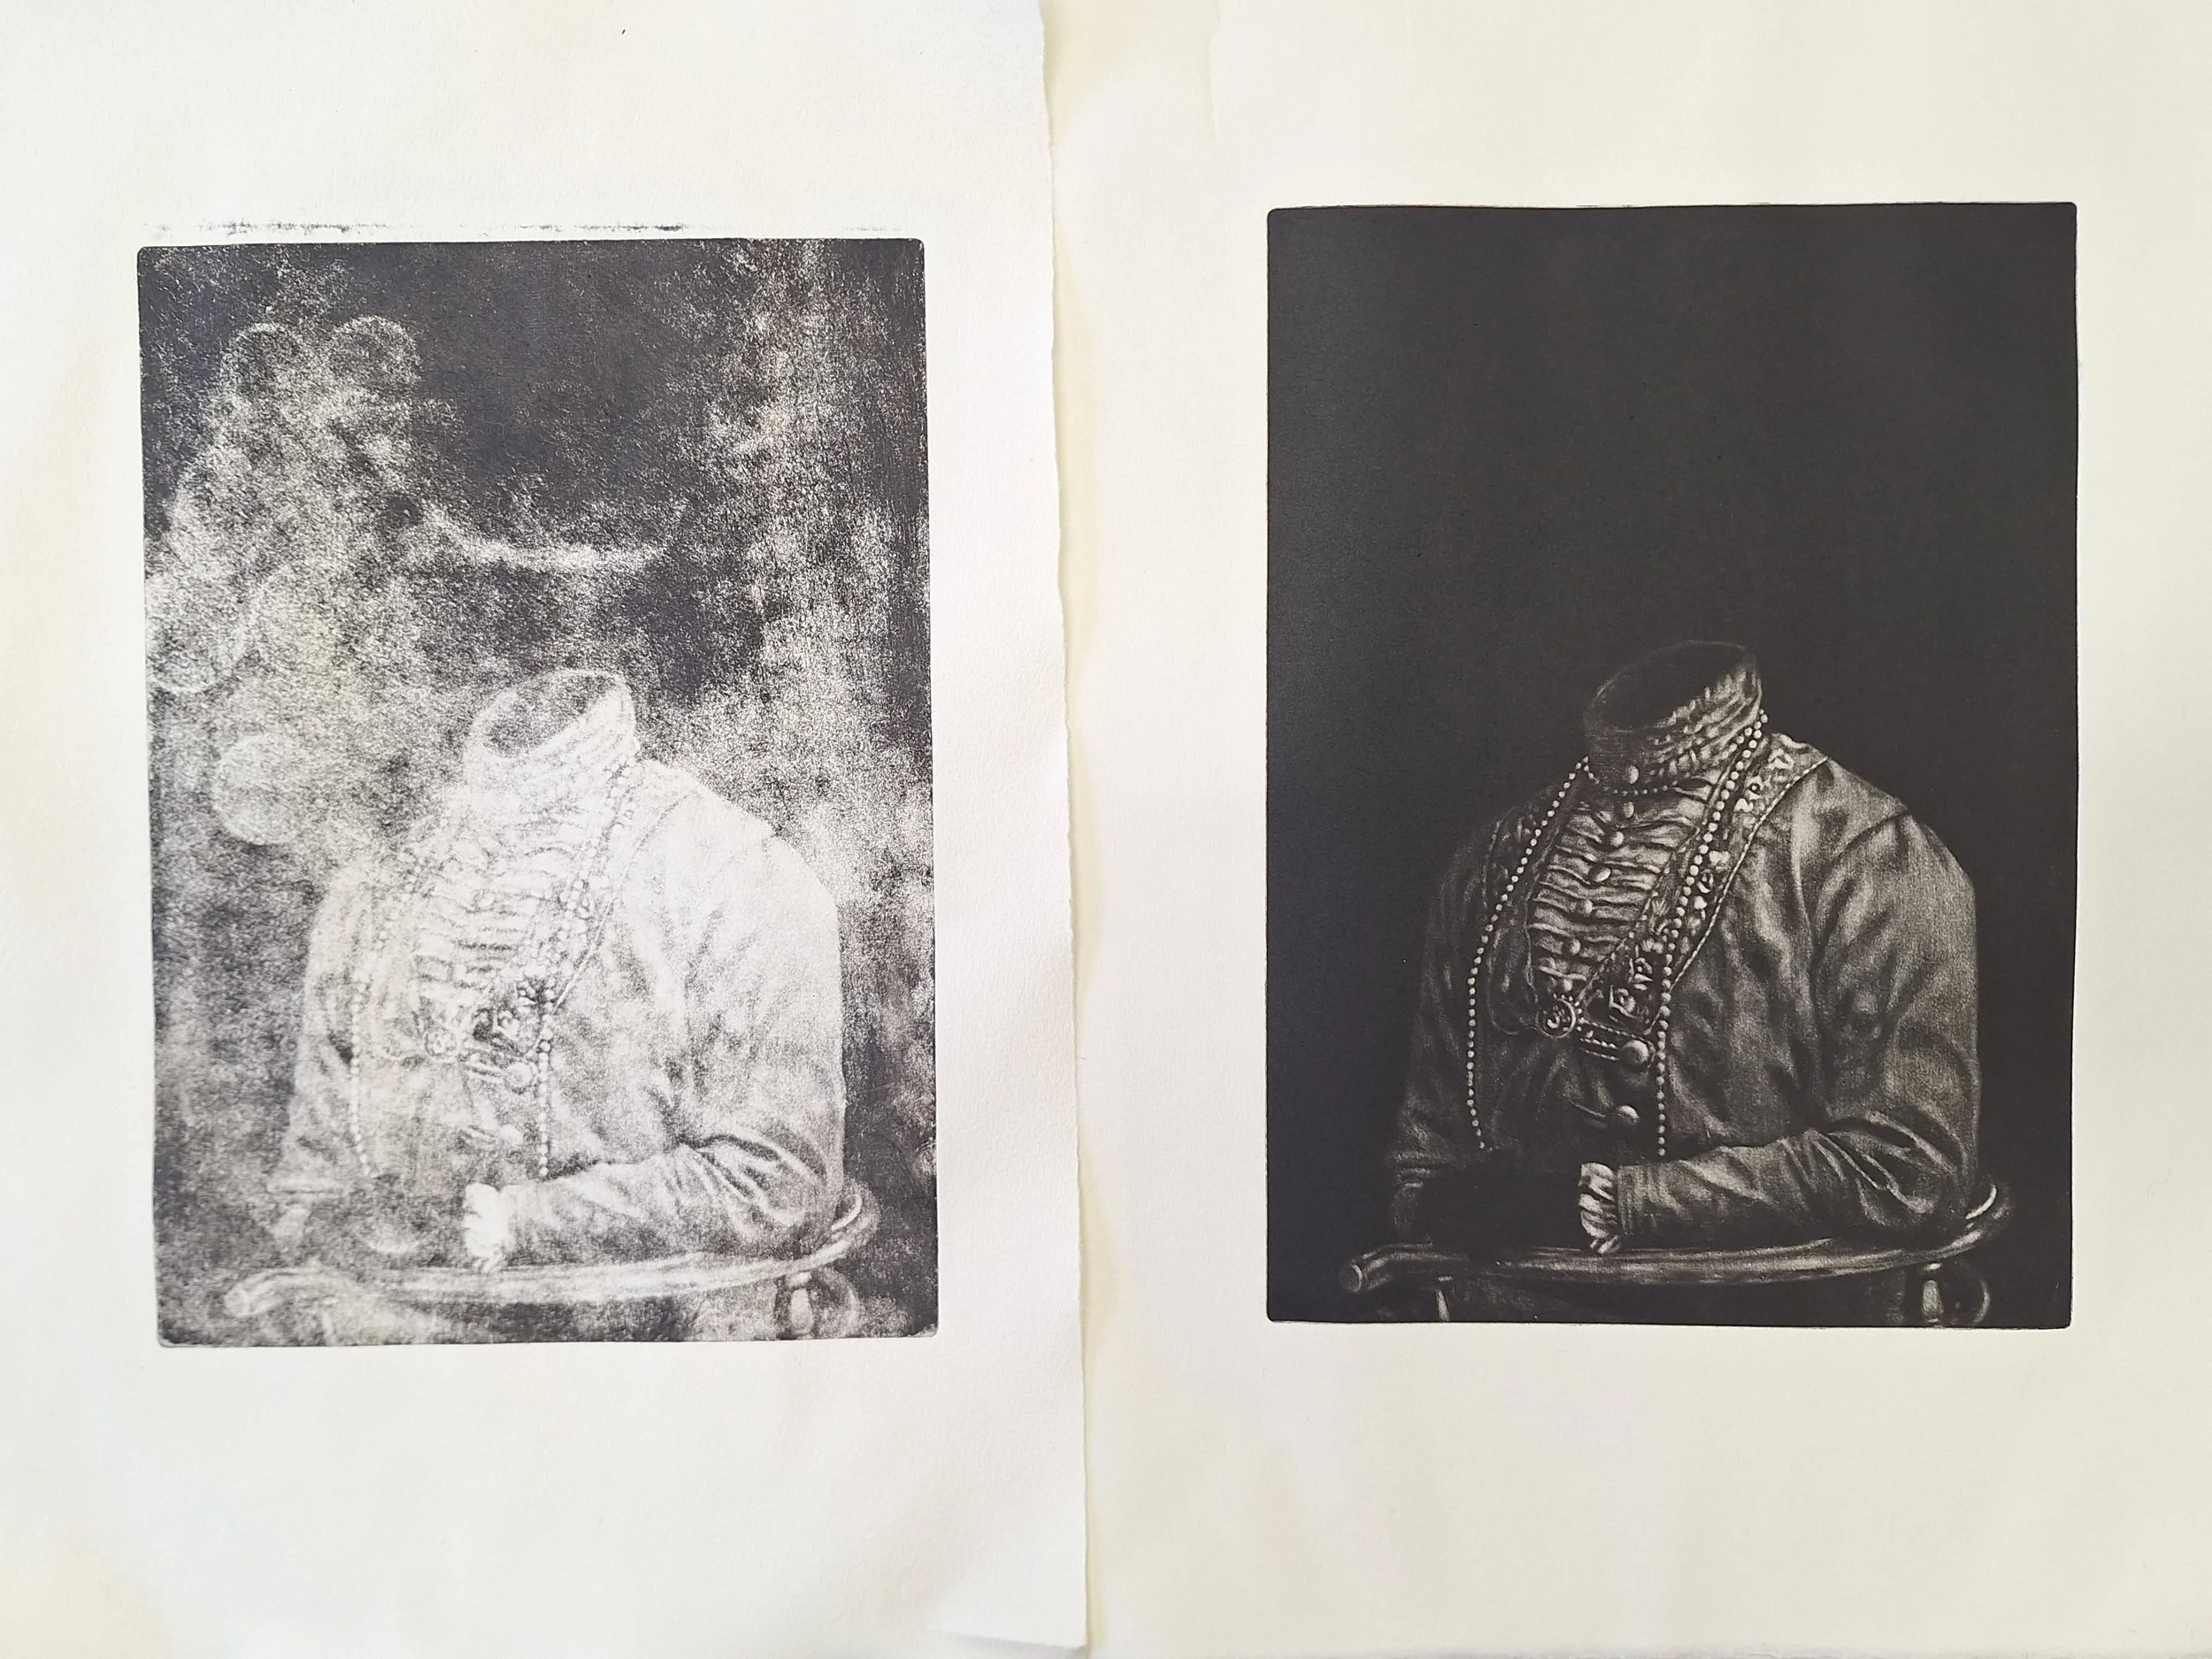
To the left is my first, and very miserable, test print! I used Caligo safe-wash etching ink, but did not have any extender, so the ink was so tacky that it could not be lifted from the paper. I also used a small press with a felt that had clear traces of coins having gone through it at some point! To the right is the same plate printed with Charbonnel 55985 Intaglio ink, this time in a larger press with a different felt. Proof that you must never give up on your plate!
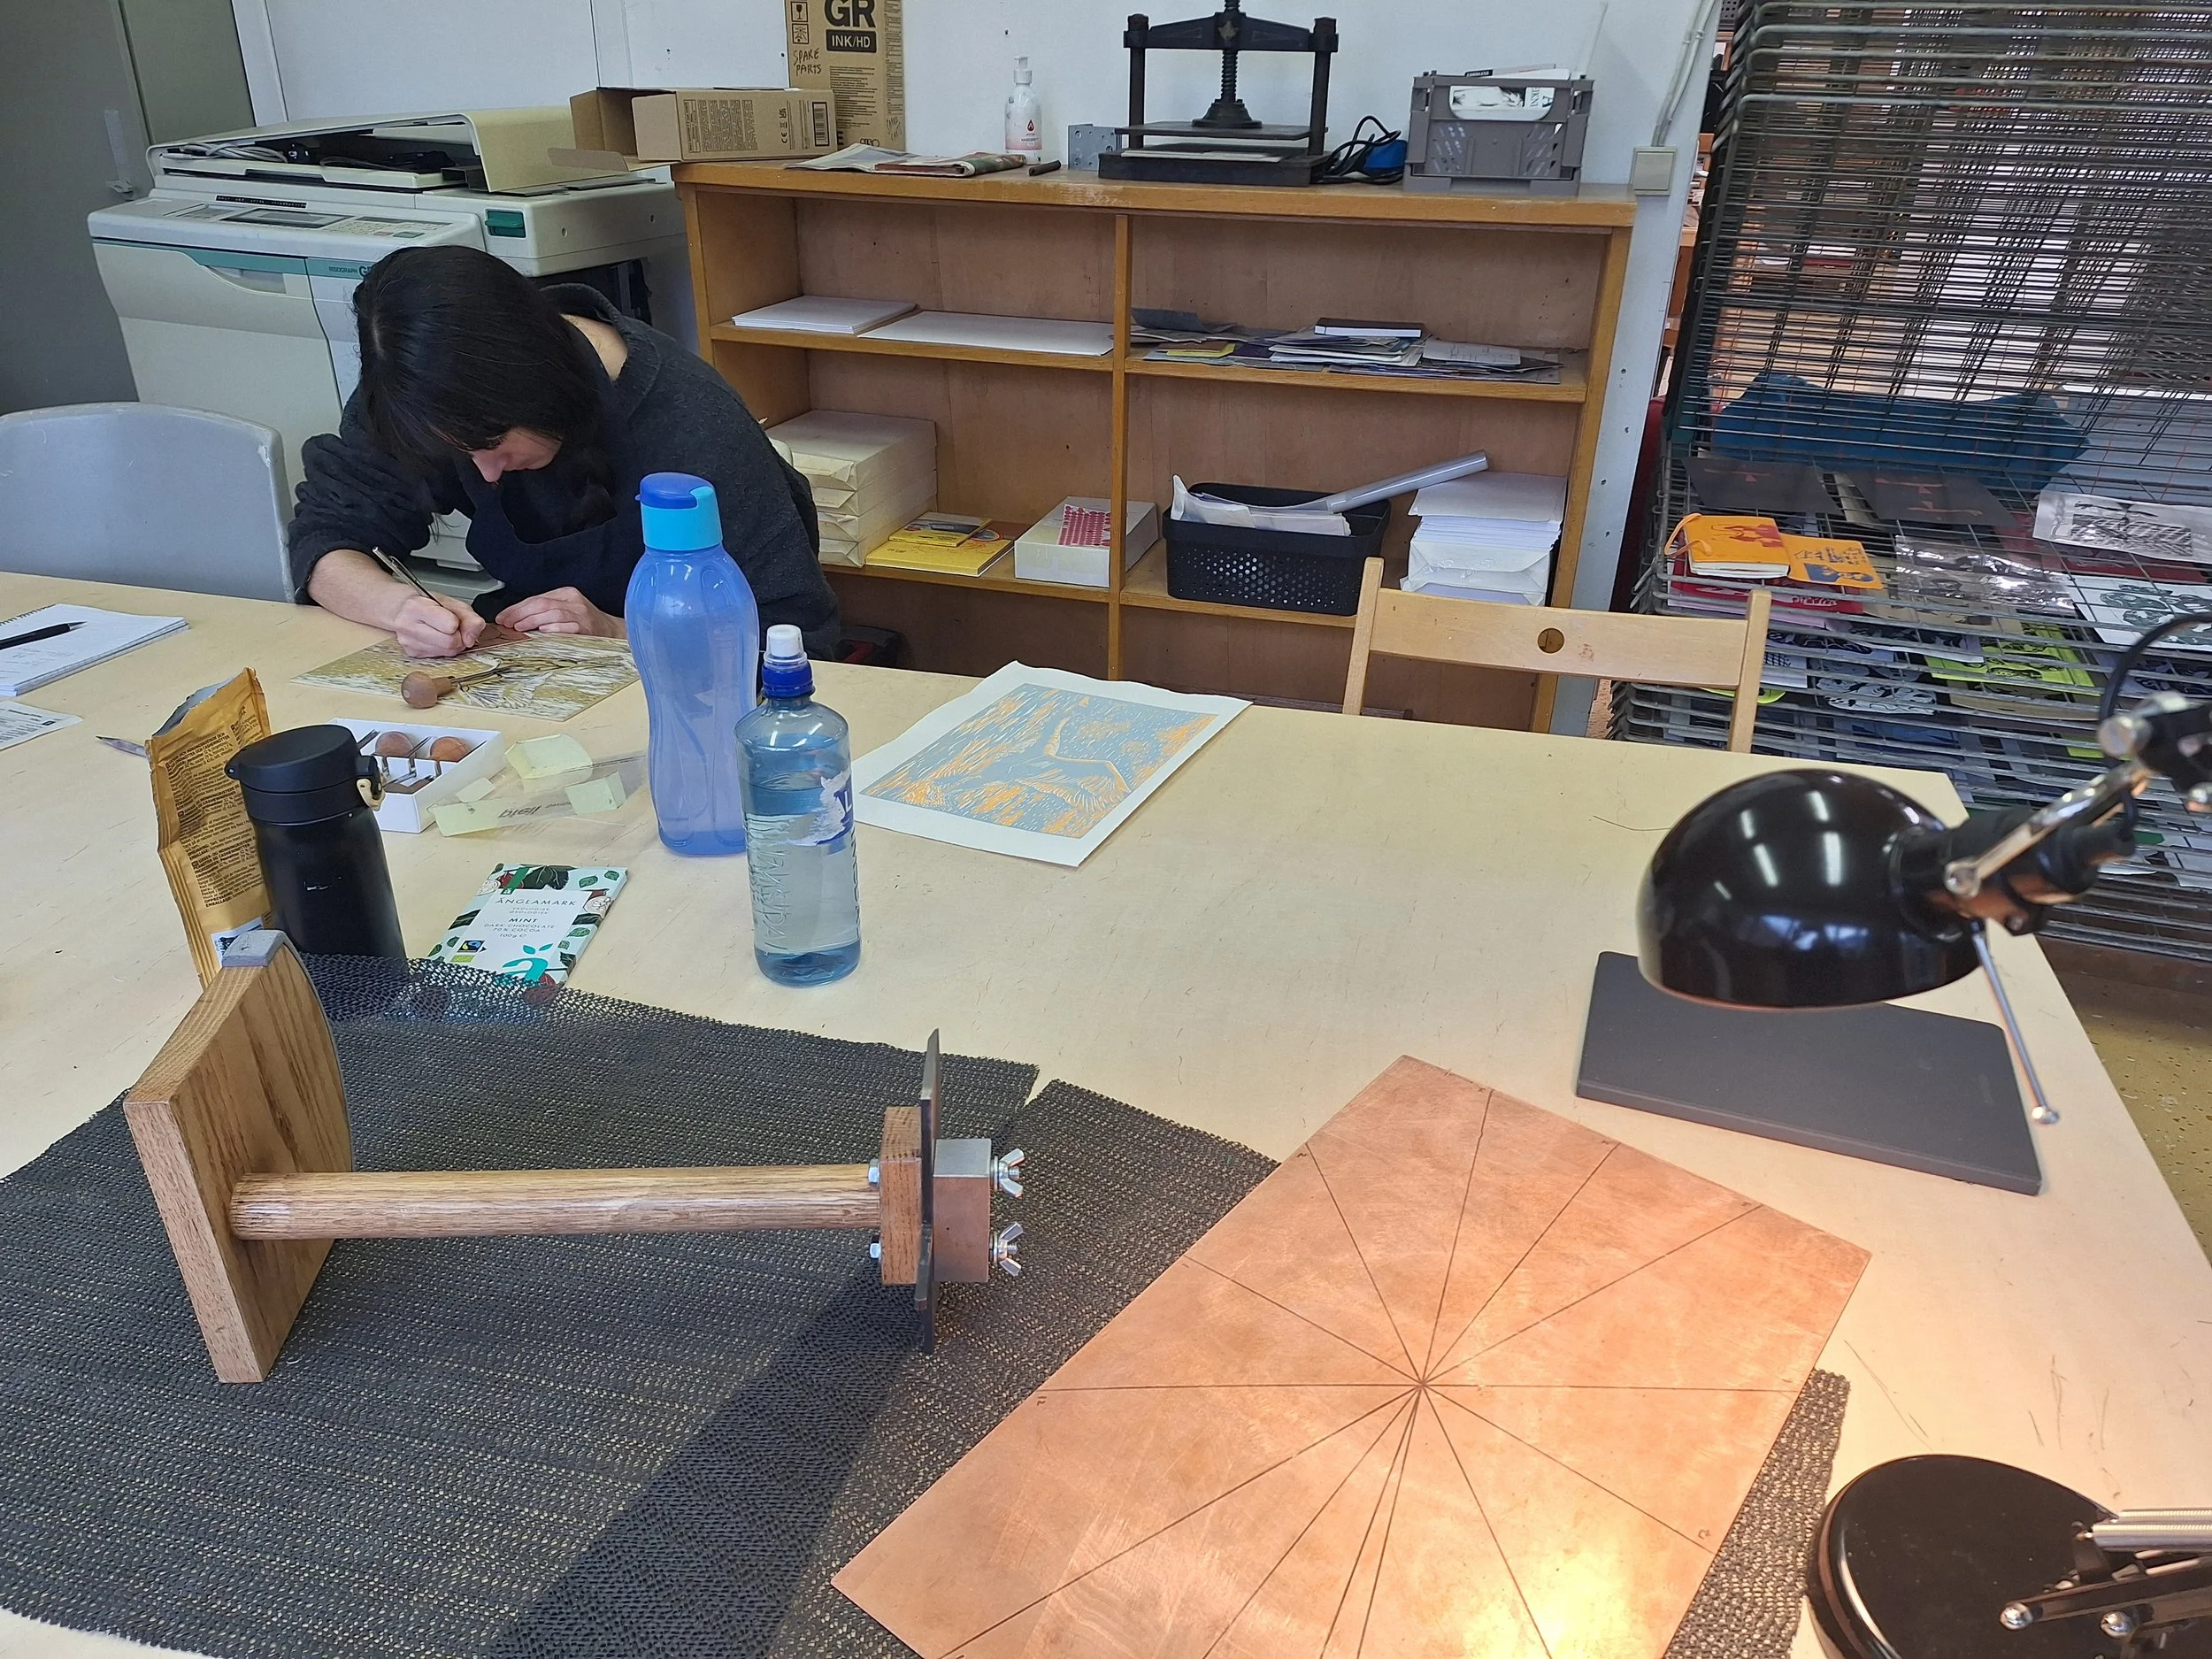
Chill evenings in the printmaking studio.
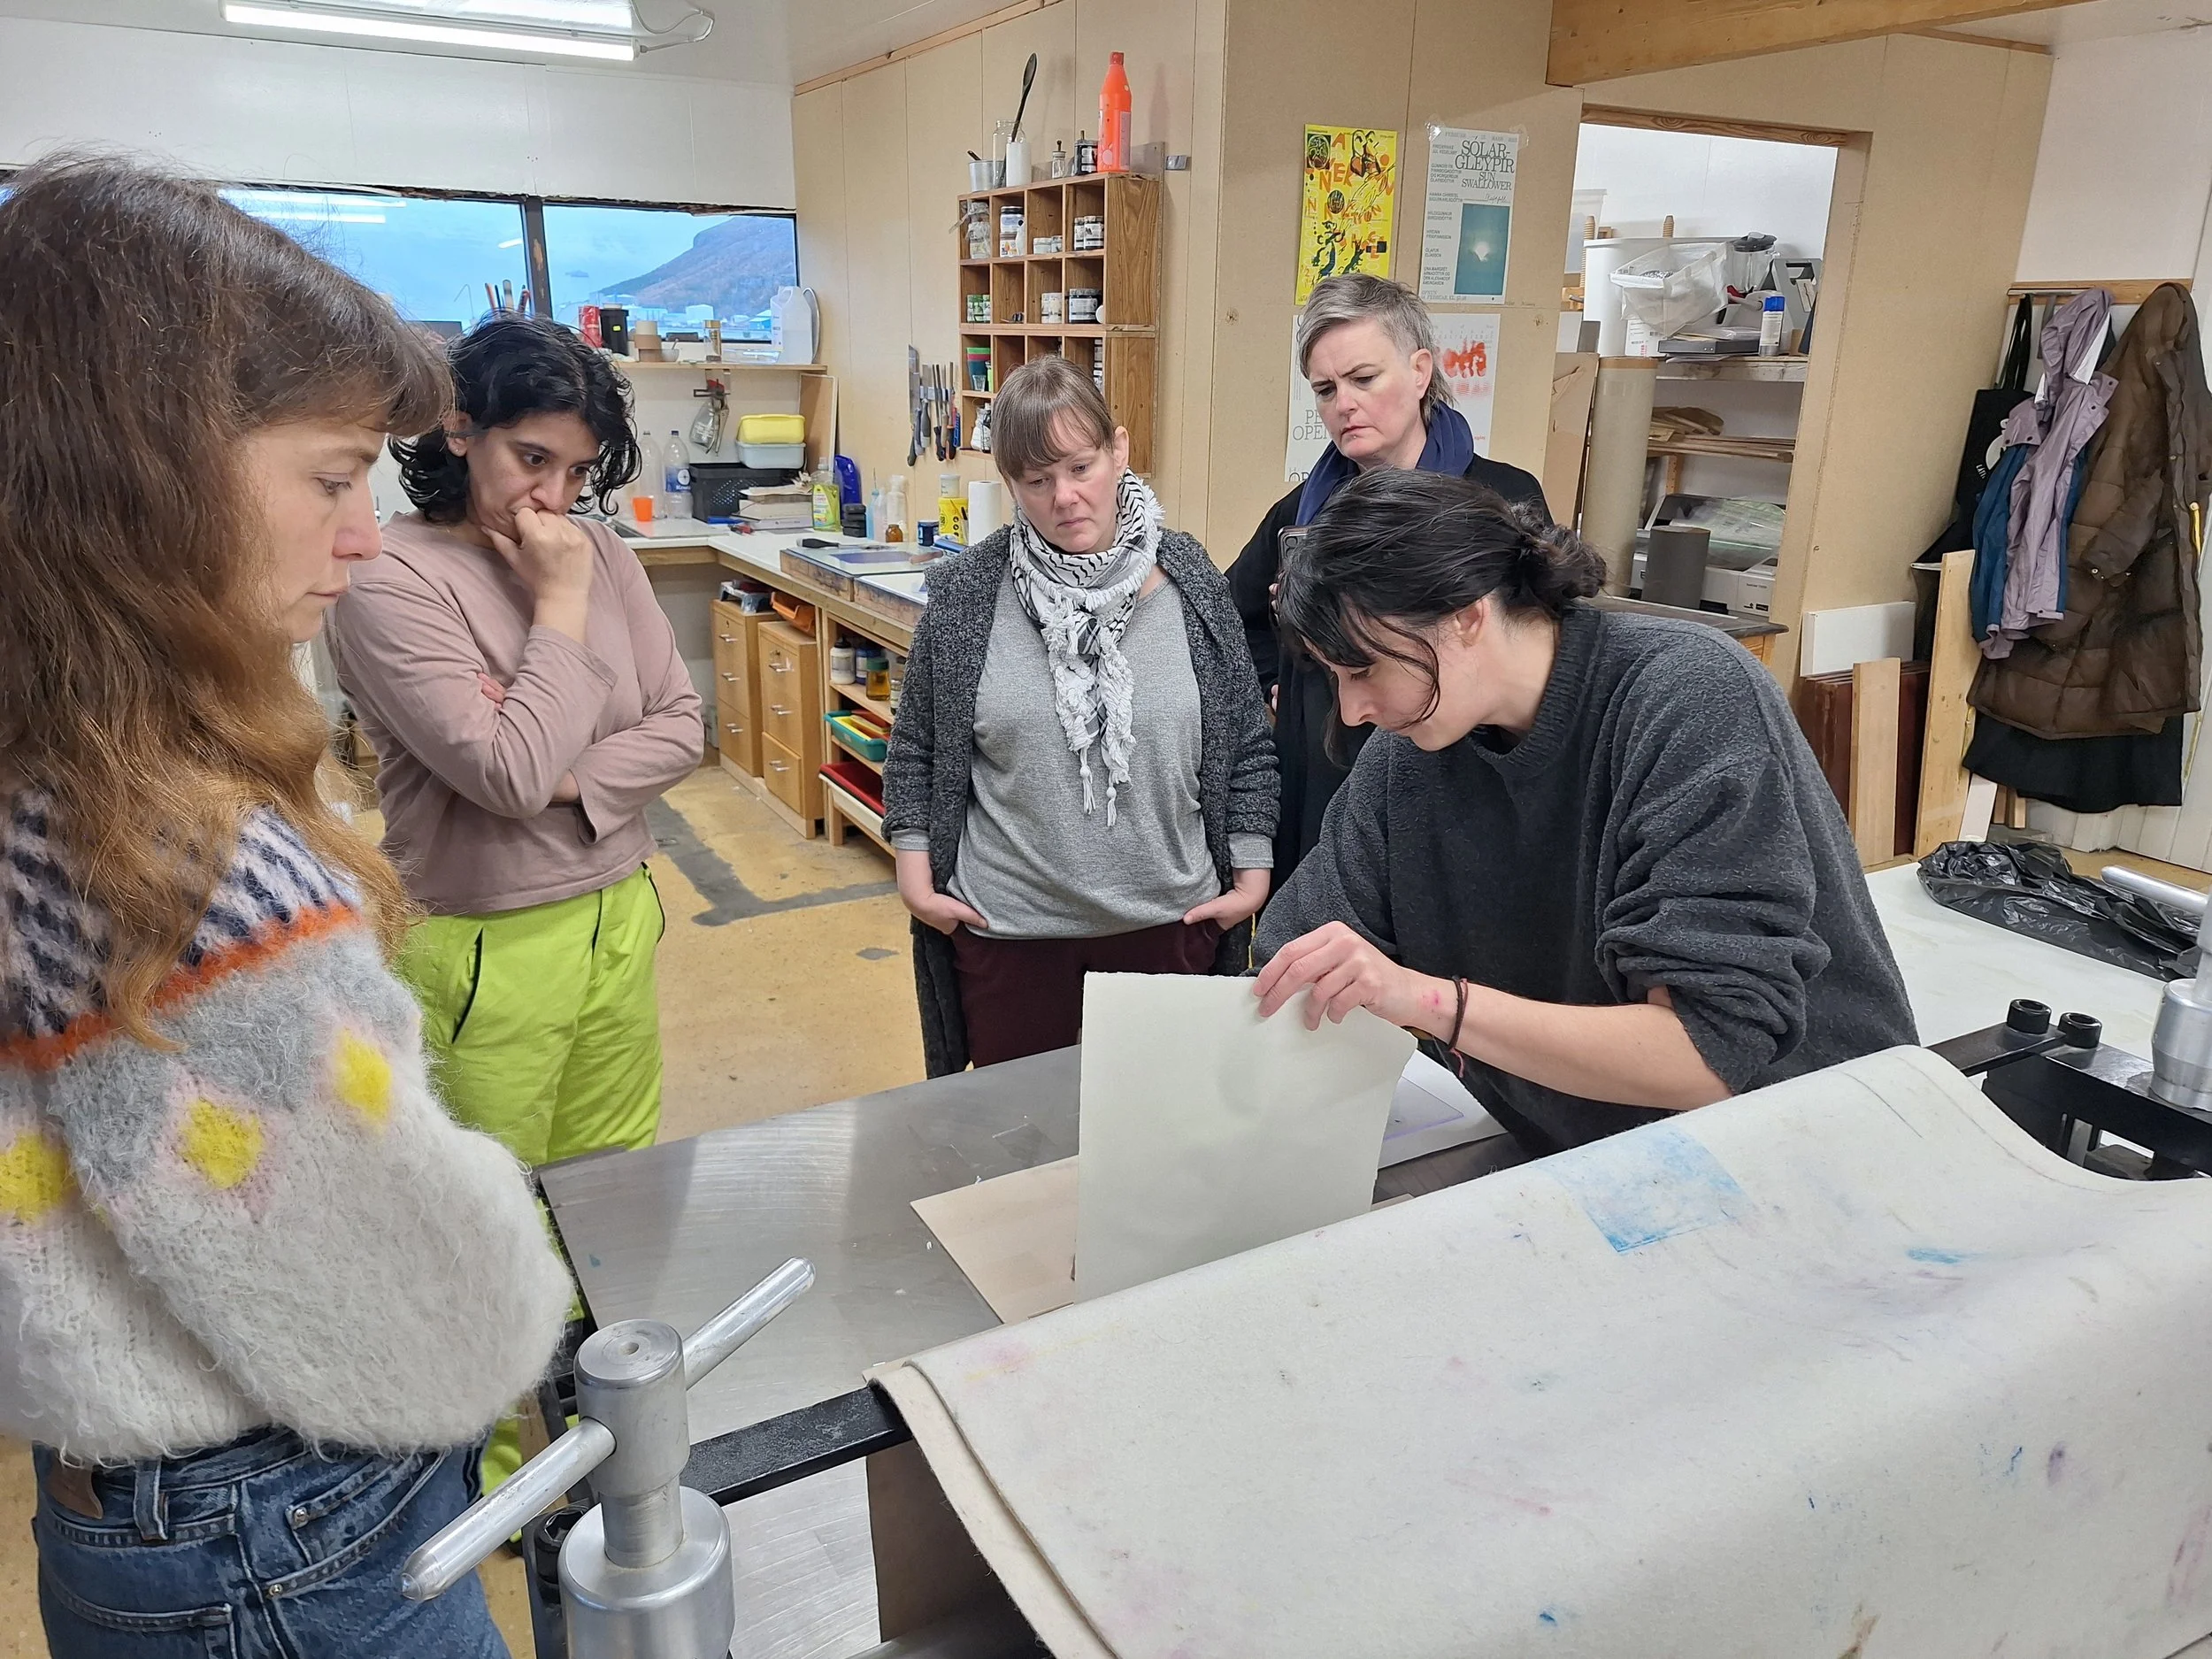
Alejandra hosting a monotype-workshop as part of our residency, with me as assistant!
In between epiphanies and frustrations, I needed to take some time to just walk around Seyðisfjörður and remind myself of what a special place this is and how amazing it is to actually be here! It started snowing this week, and although it melted pretty quickly, the mountains looked extra rugged and spectacular once the skies cleared and the sun hit the snowy hilltops. It is strange how quickly you get used to having mountains and a lagoon with seals just outside your window, and sometimes you have to take a breath and remember to take it all in!